
Blending modes are a part of digital art that I’ve been using all this time without fully understanding what all of them actually do. Sure, Multiply makes art go darker, Add makes art go lighter, but what are these blending modes really doing, and when should you actually be using them?
Today we’re fixing that!
Here you’ll find a roundup of what each blending mode does, how it works, and when to use it. Hopefully this helps make us all bigger, better, badder, b-more efficient artists!
Buckle up—this is a long one.
It was supposed to be a quick reference, but I can’t not go down a rabbit hole, and I definitely can’t not put images in to demonstrate the art things we’re talking about. In fact, there was so much information that each blending mode ended up getting its own page!
But before we get into the weird stuff, we need to establish our baseline.
Normal
She’s our basic, vanilla, default blending mode. In Normal mode, the color on the top layer simply covers the color on the layer below. There’s no special blending math involved — the top layer wins.
When to Use It
Pretty much always: Normal is the default mode for painting, drawing, and adding color. If you’re not intentionally trying to make one layer interact with another, Normal is usually what you want.
Normal is our base. Every other blending mode is doing something to change how the colors on one layer interact with the layers underneath.
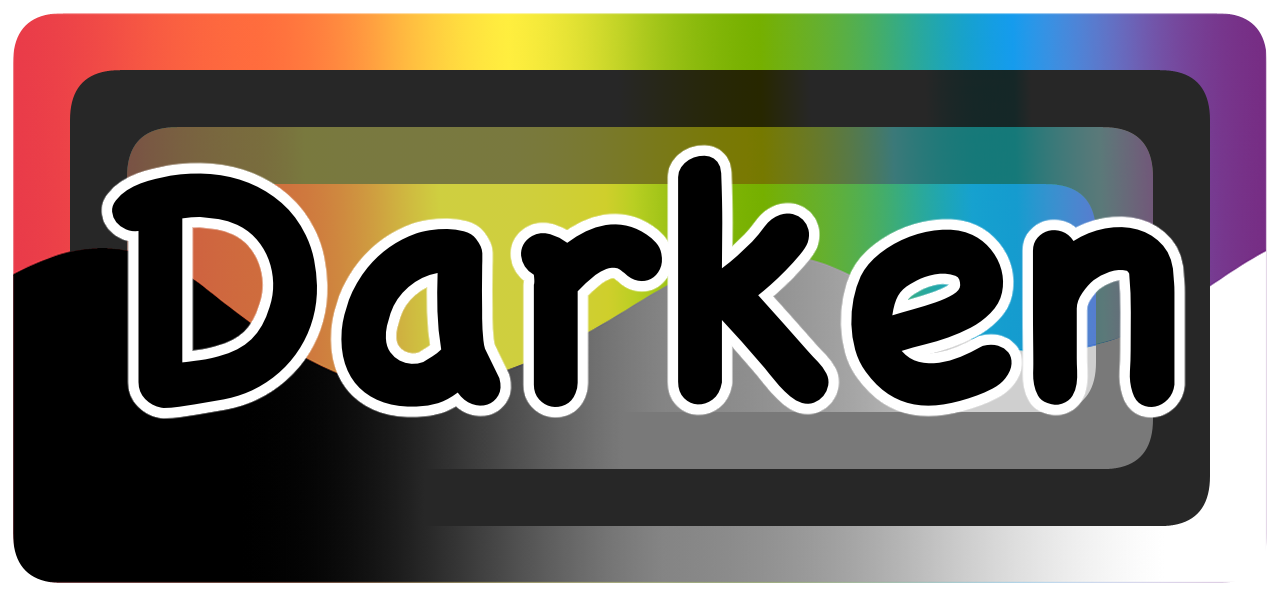
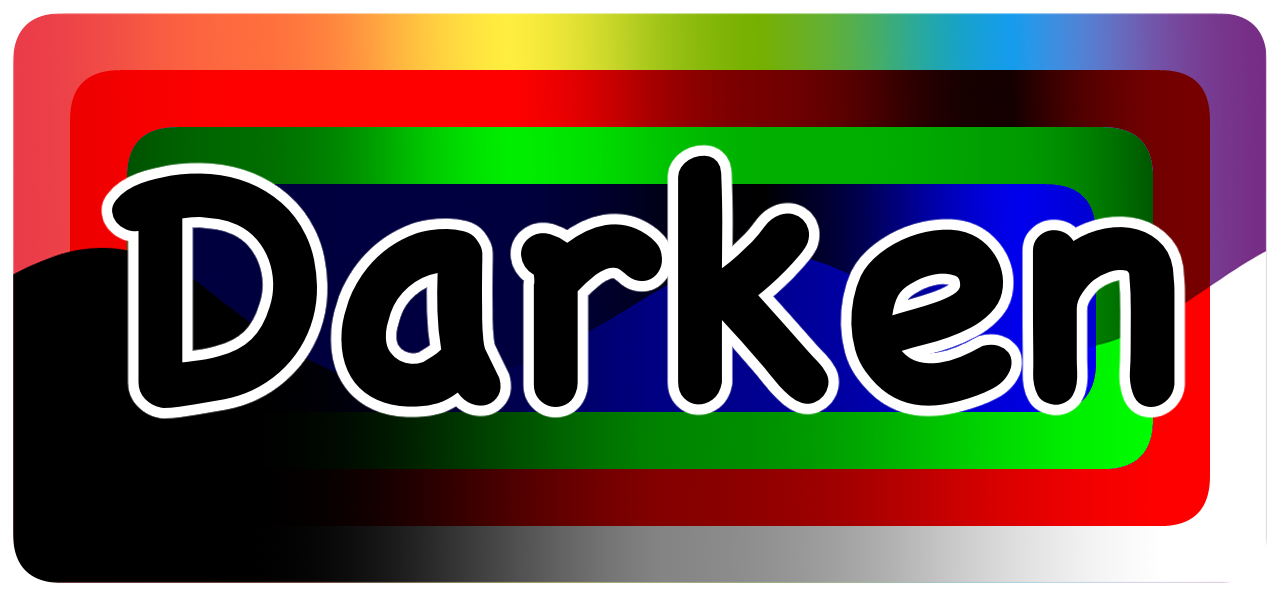
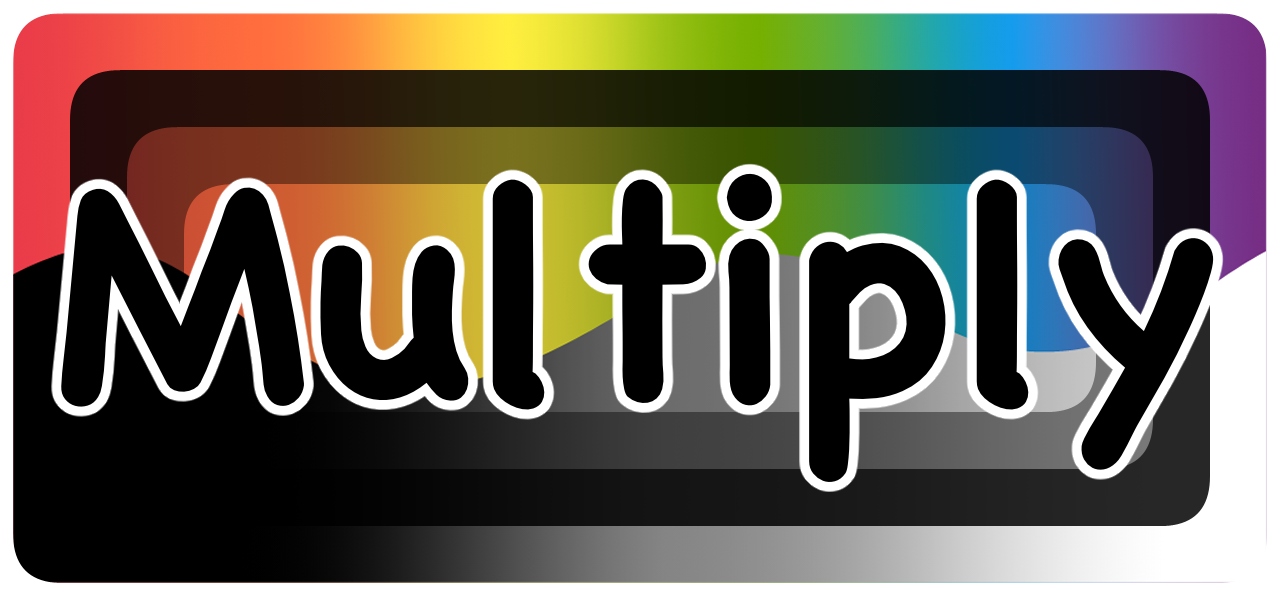
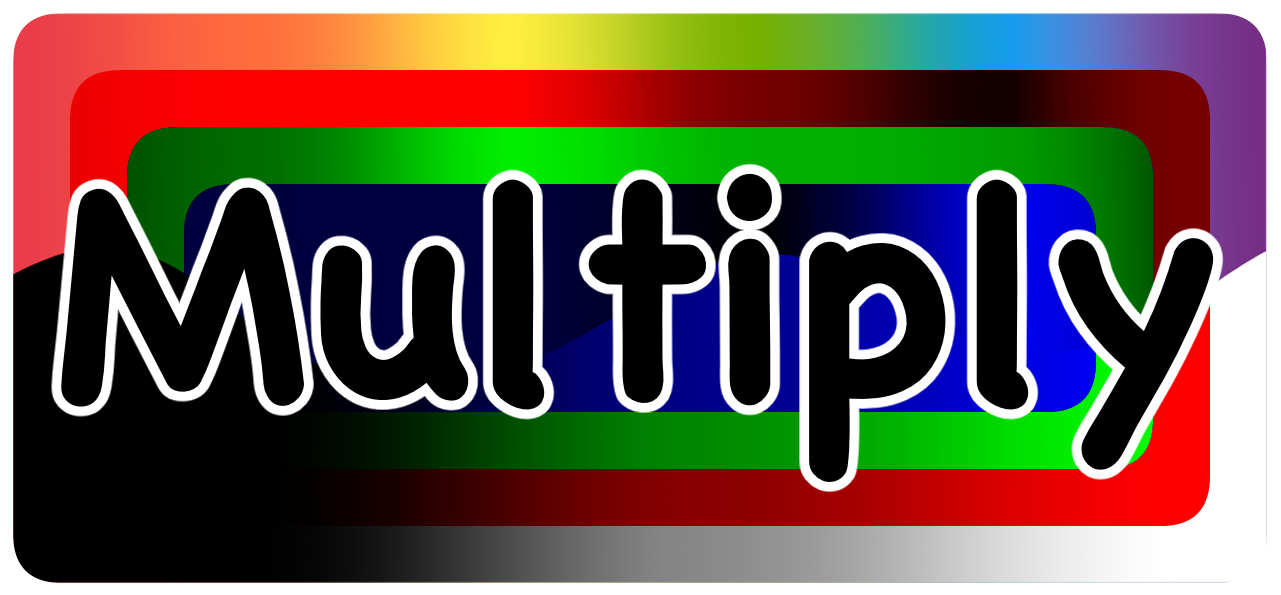
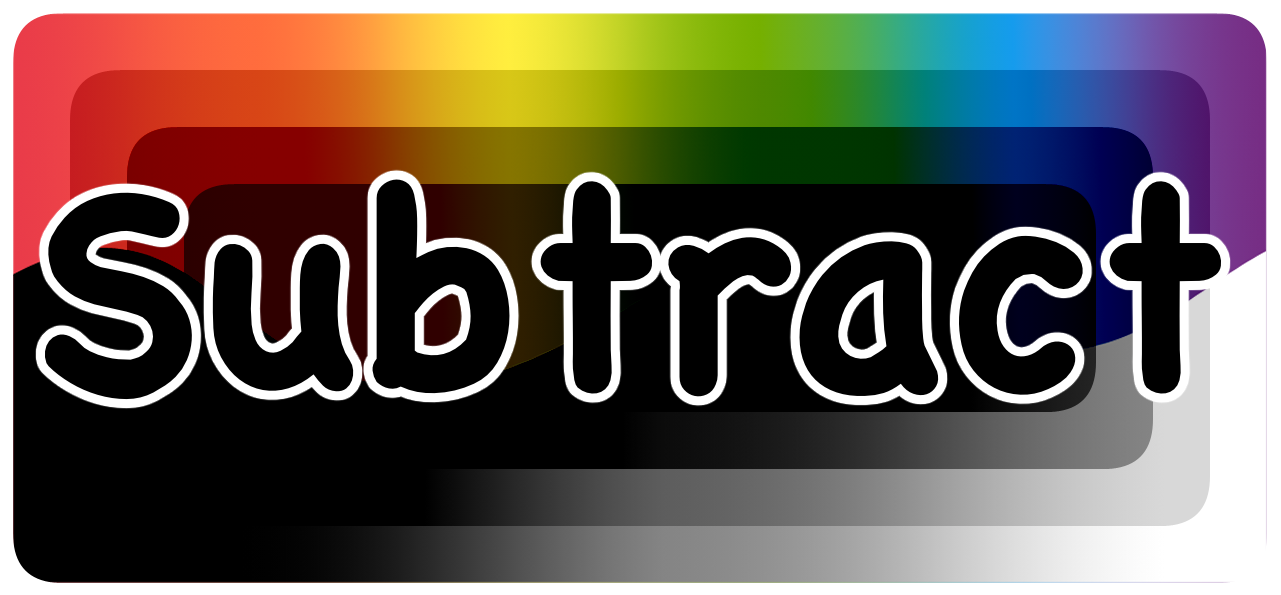
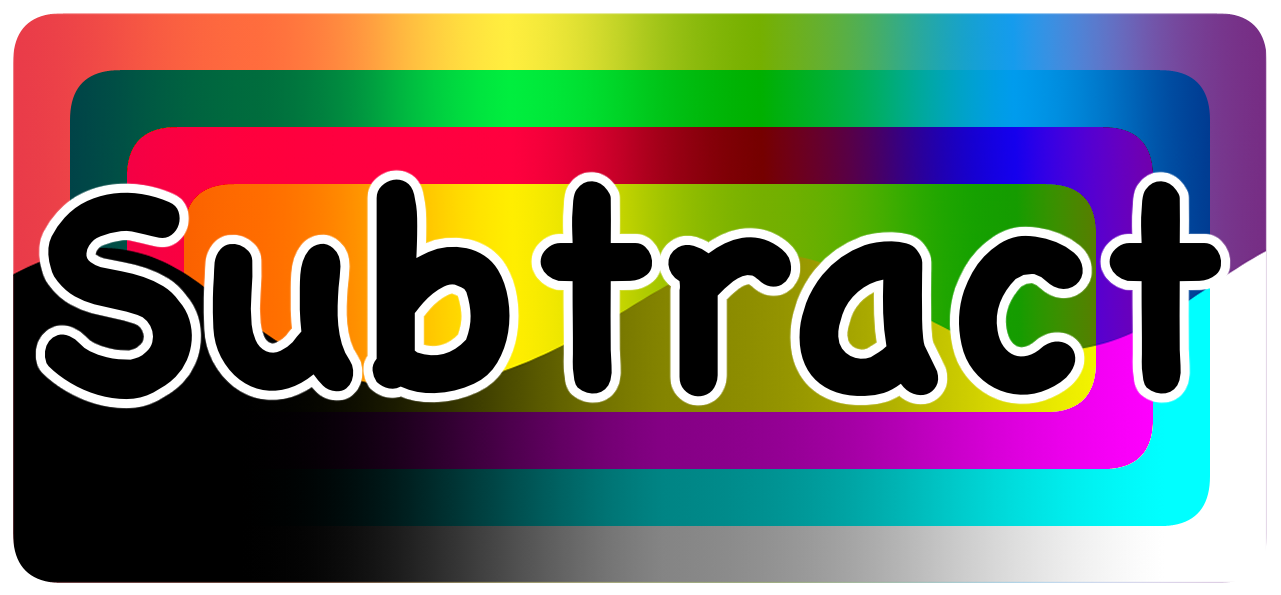
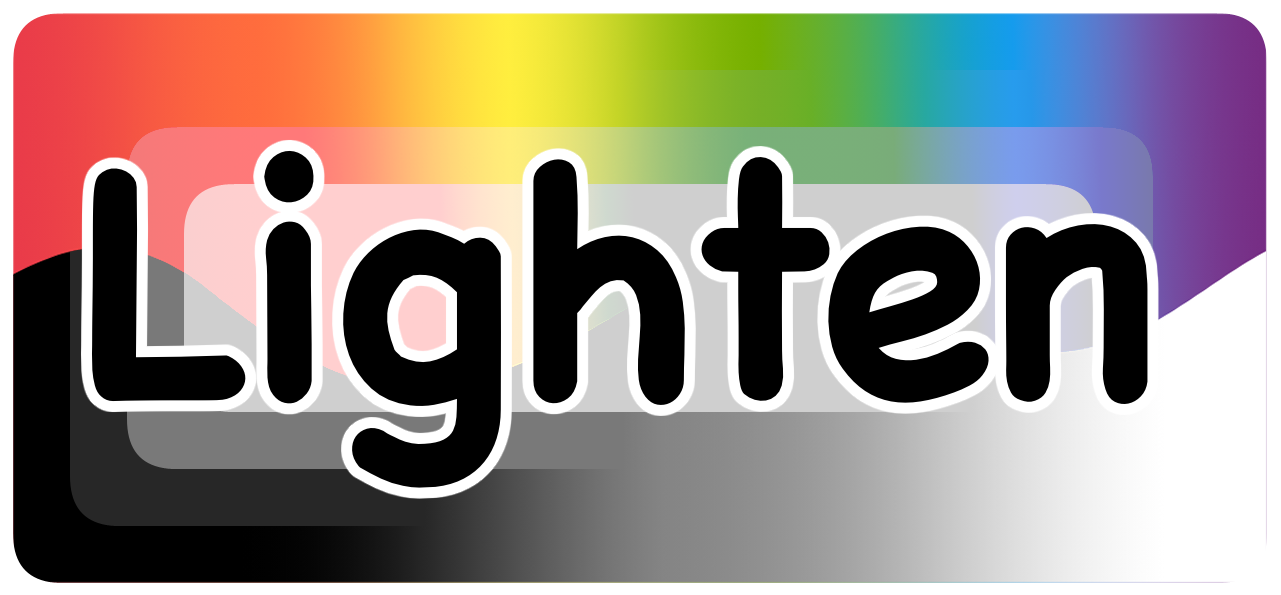
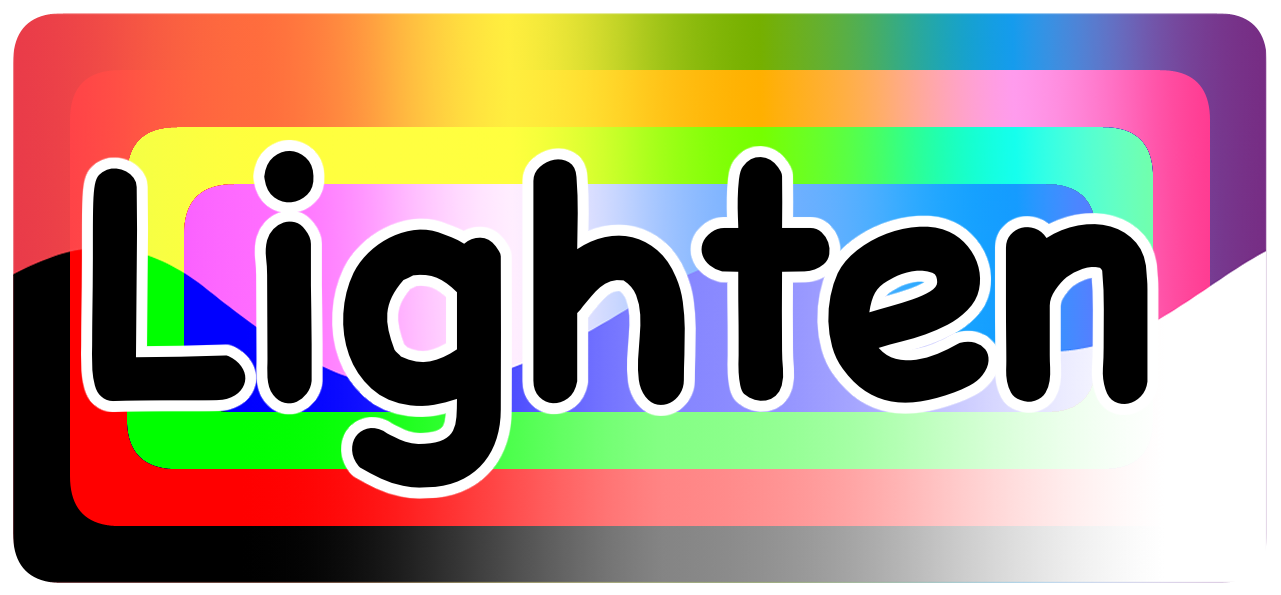
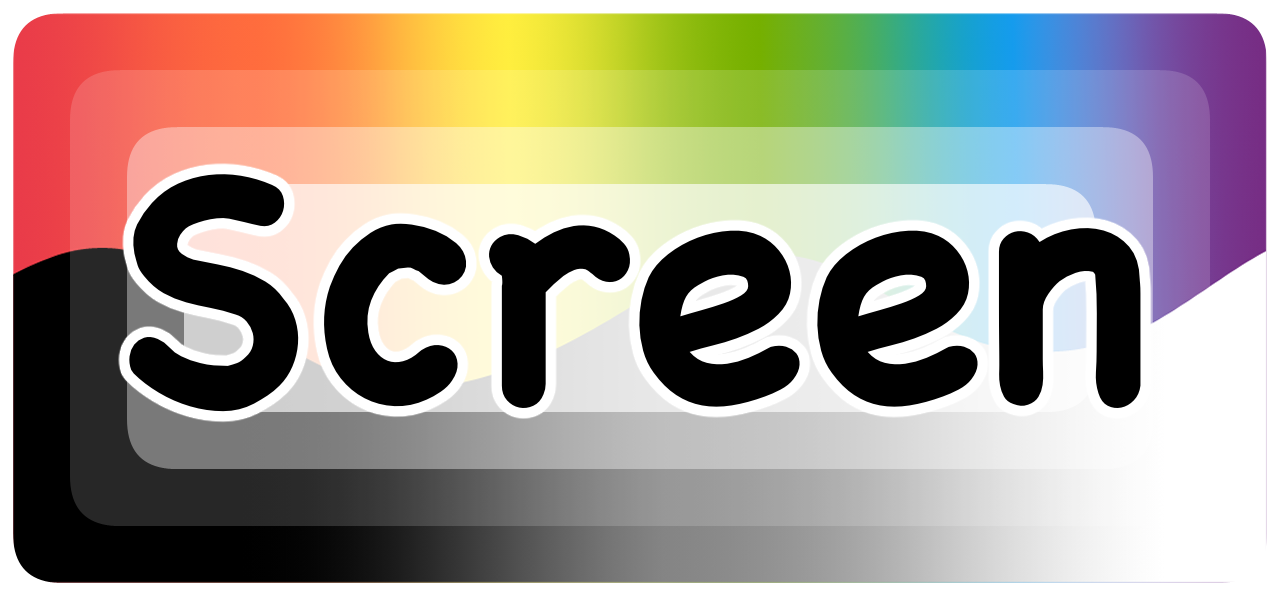
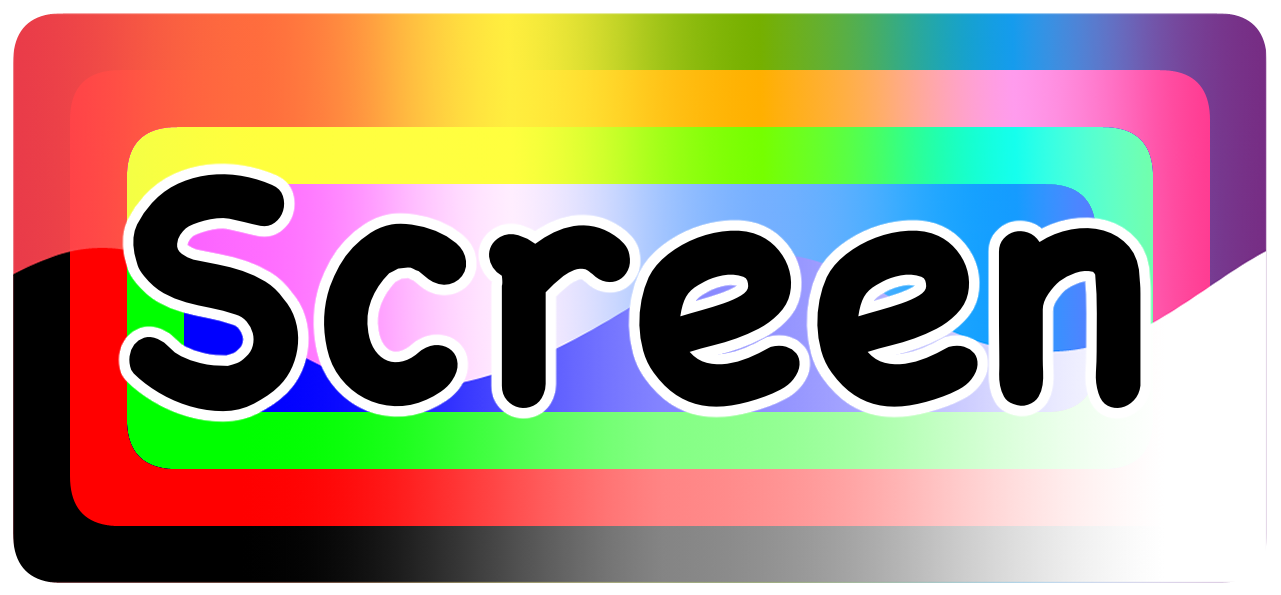
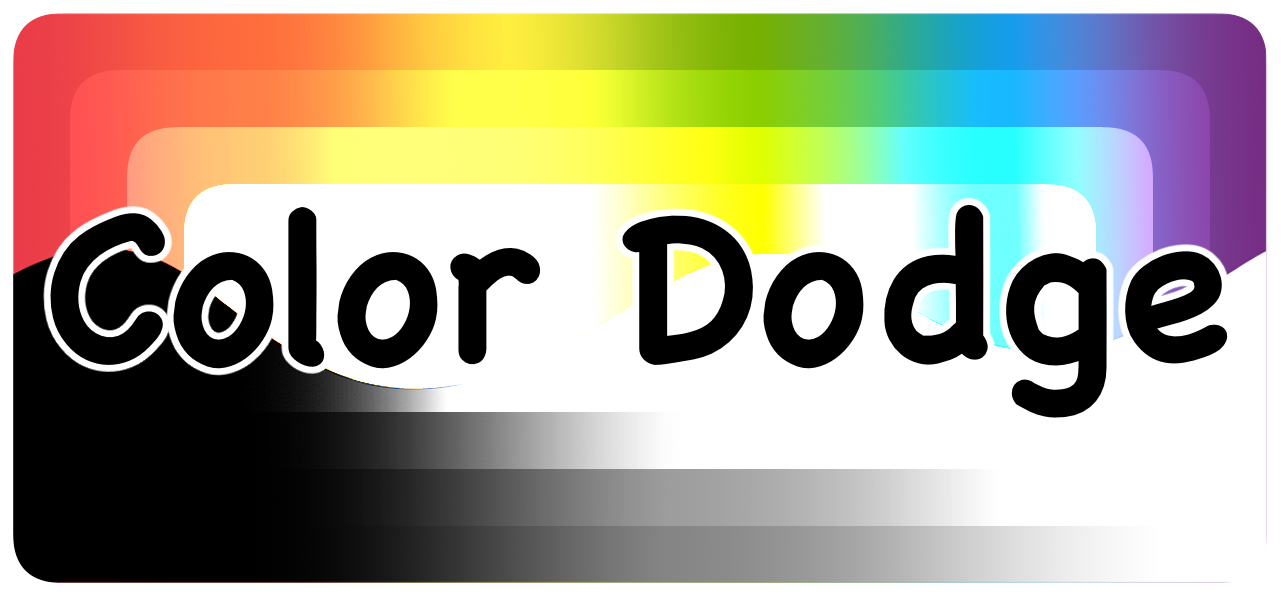
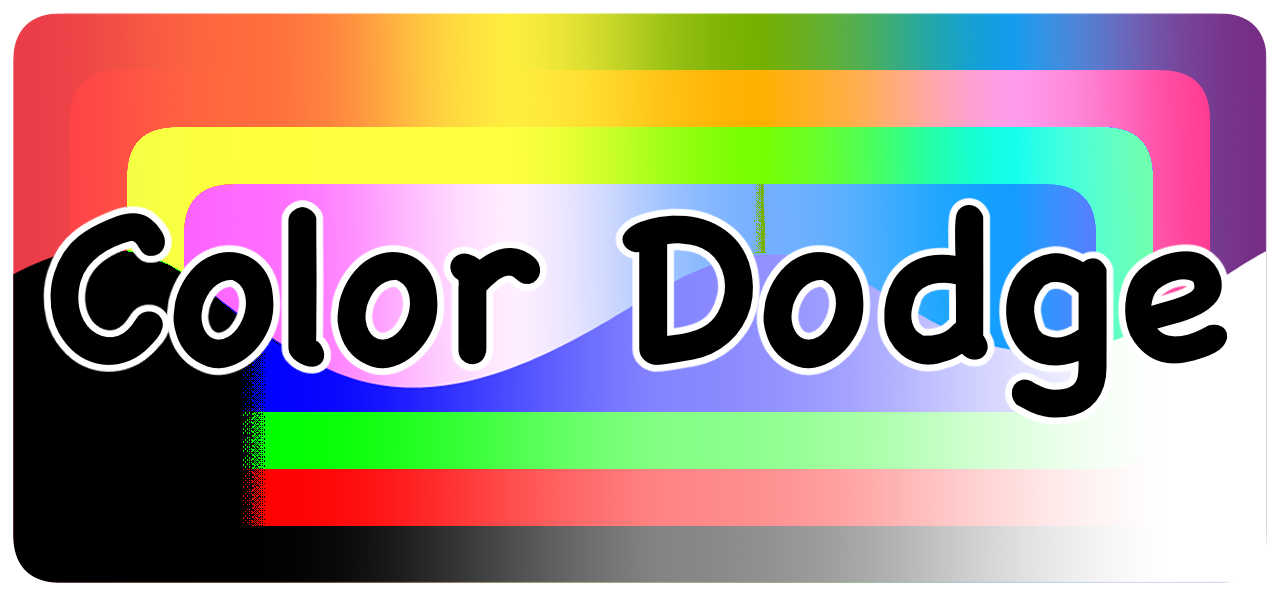
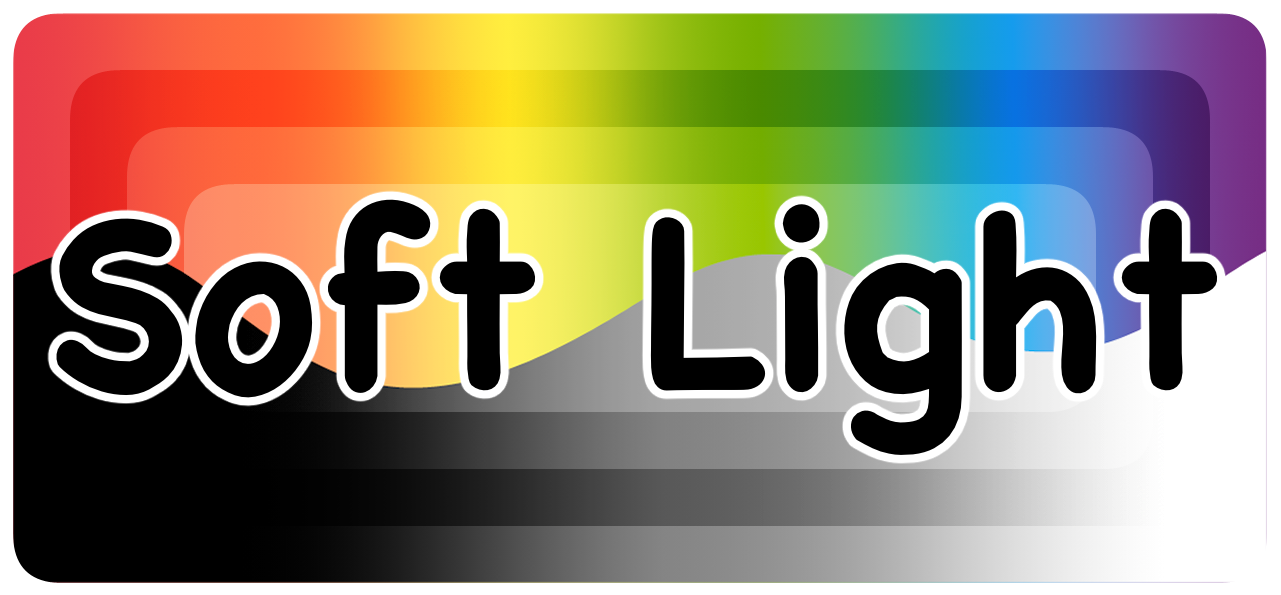
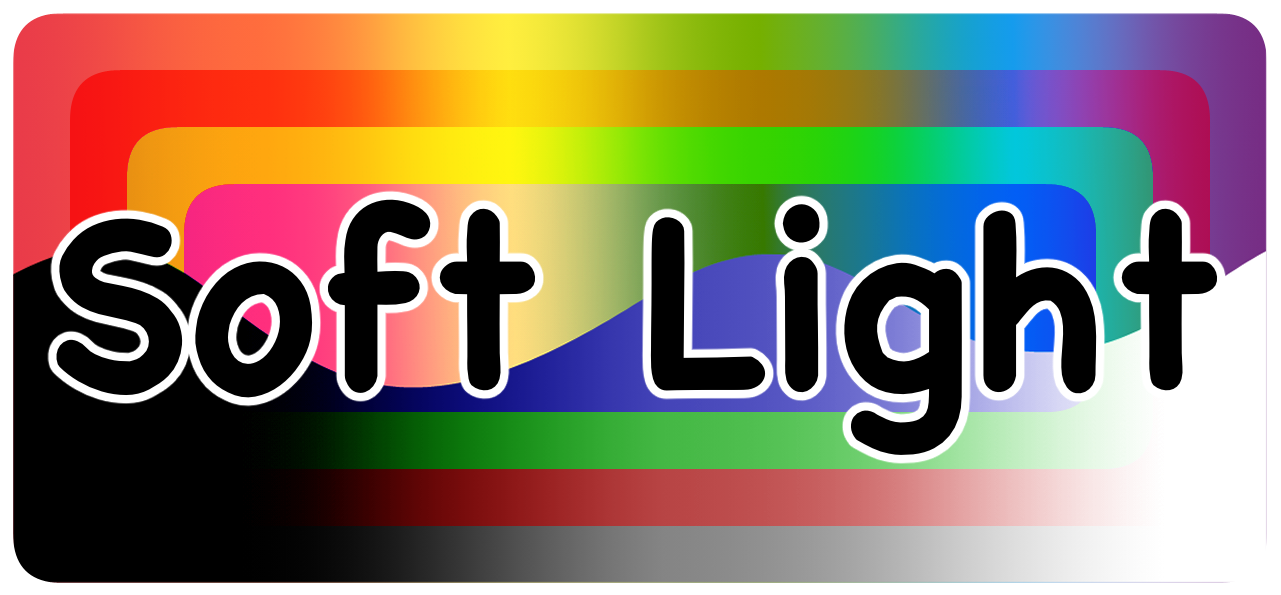
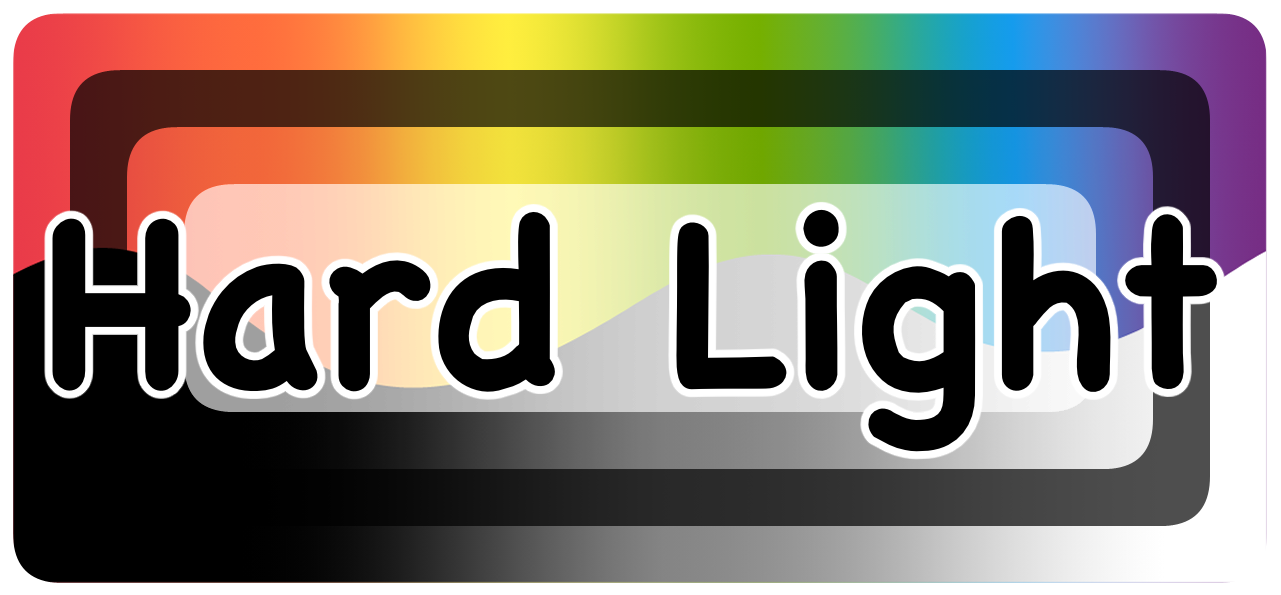
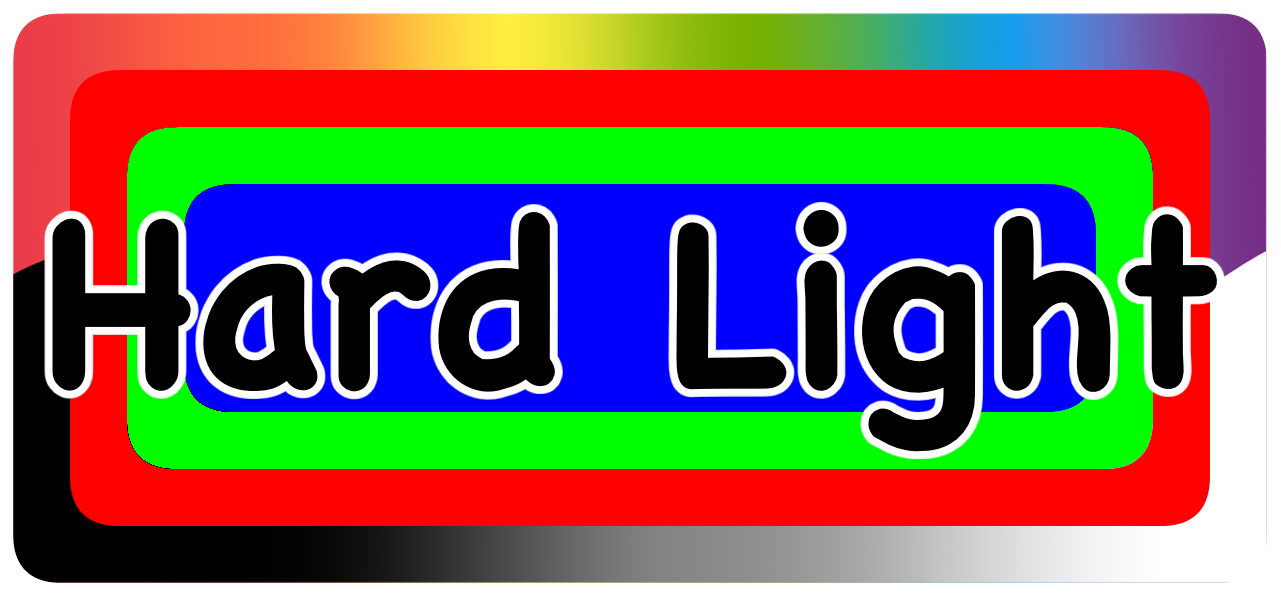
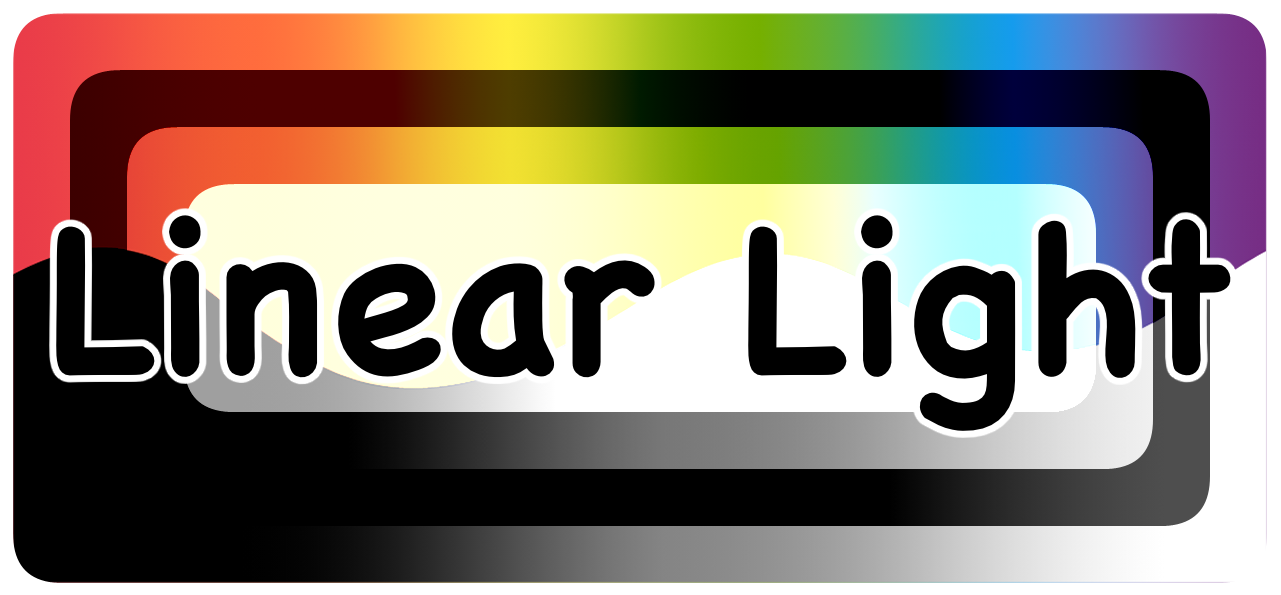
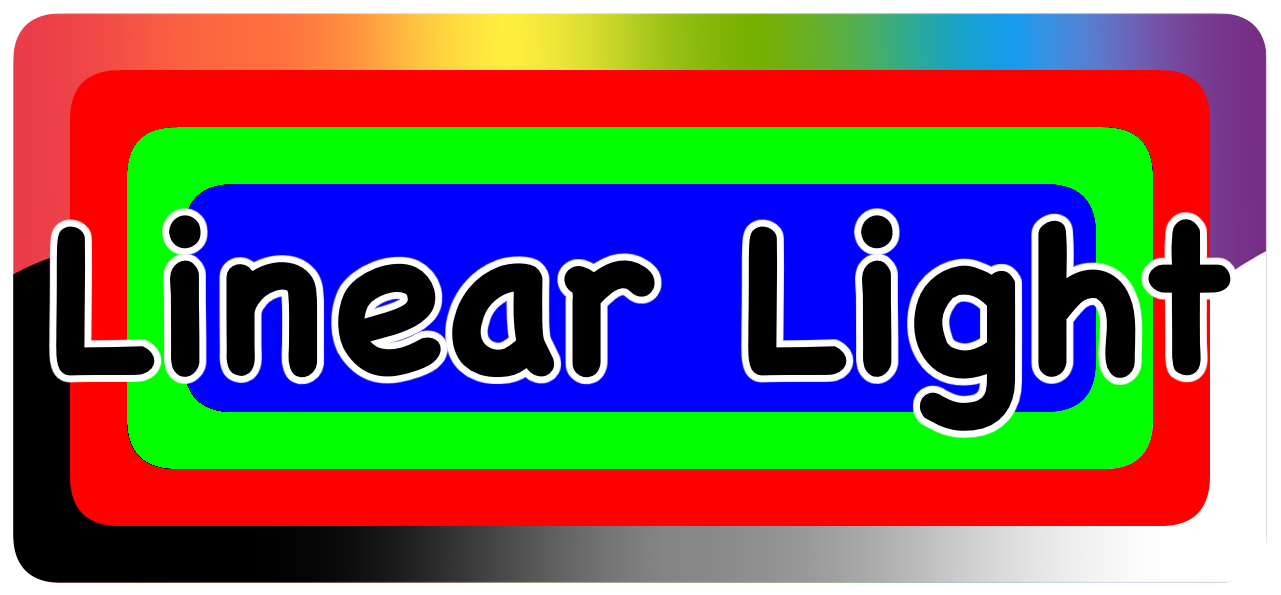
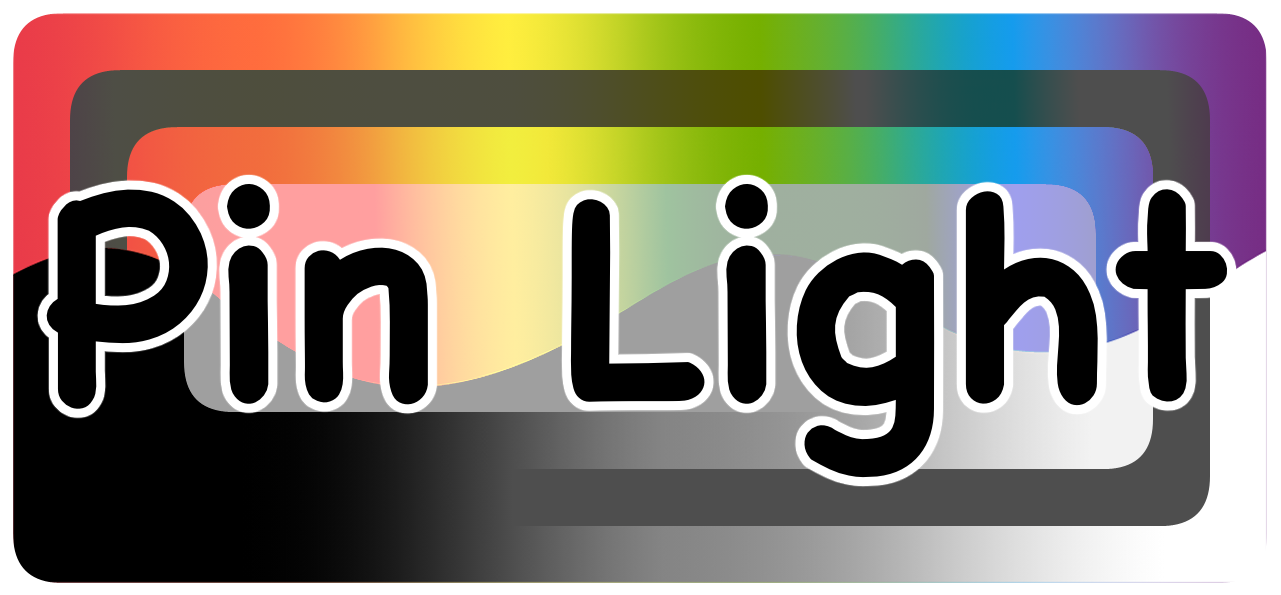
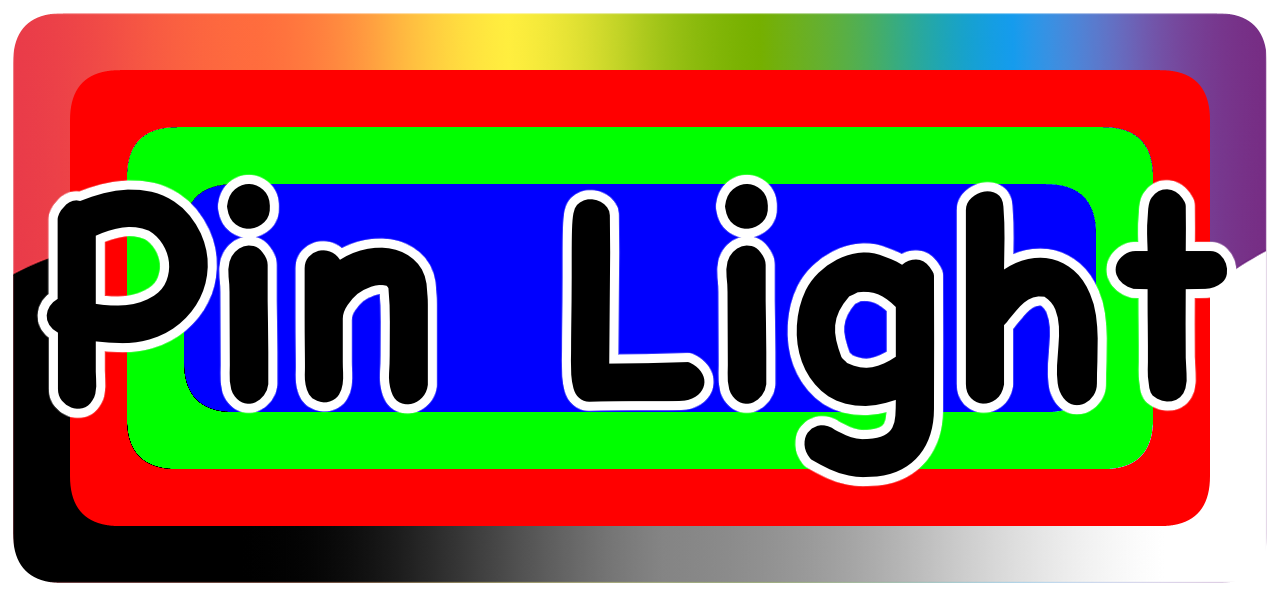
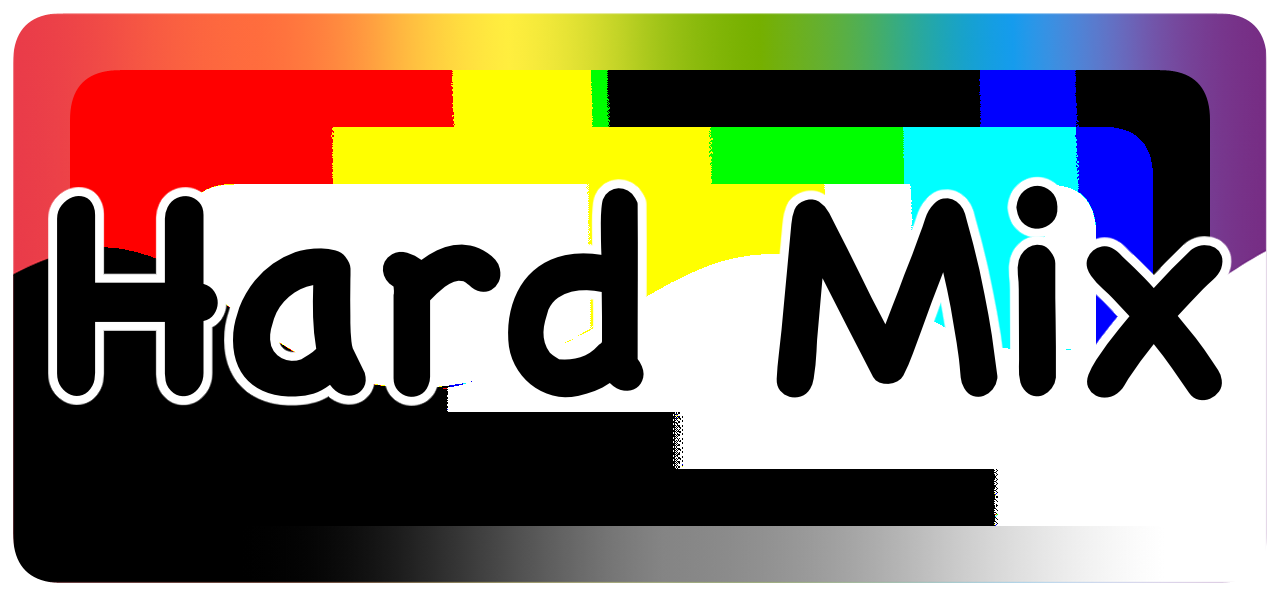
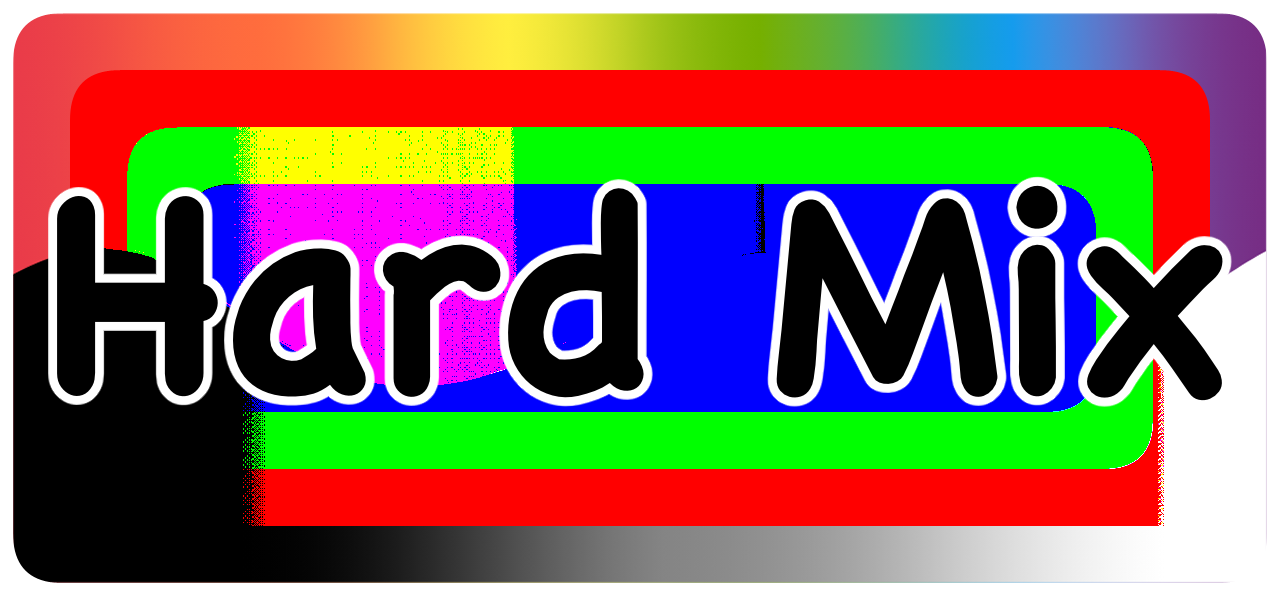
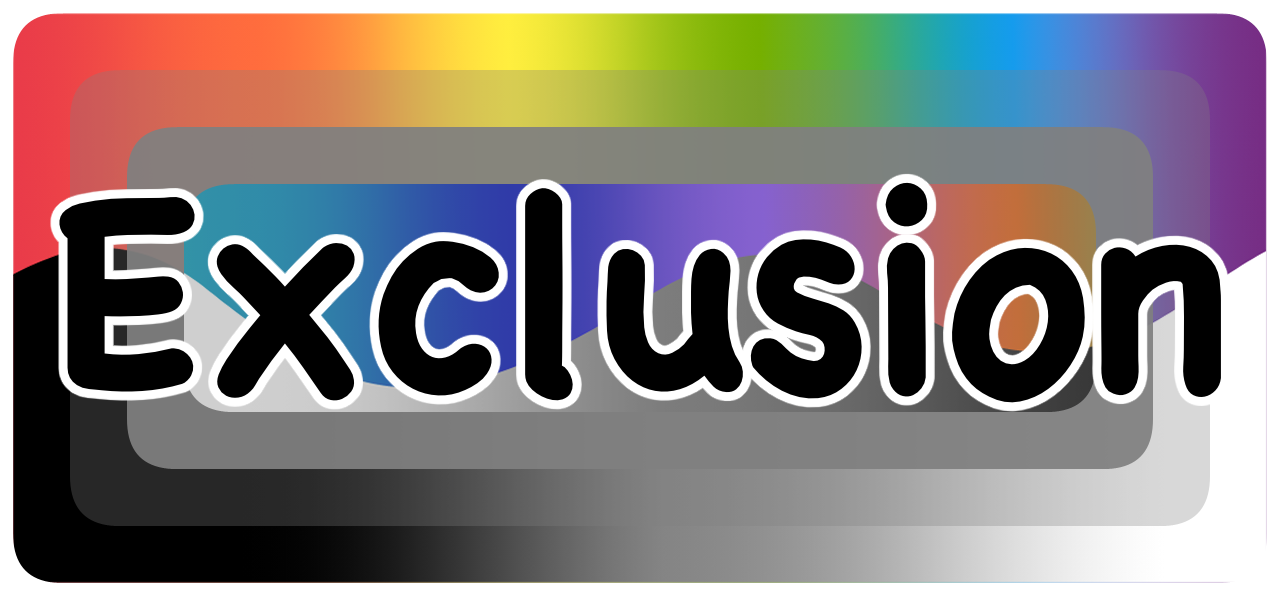
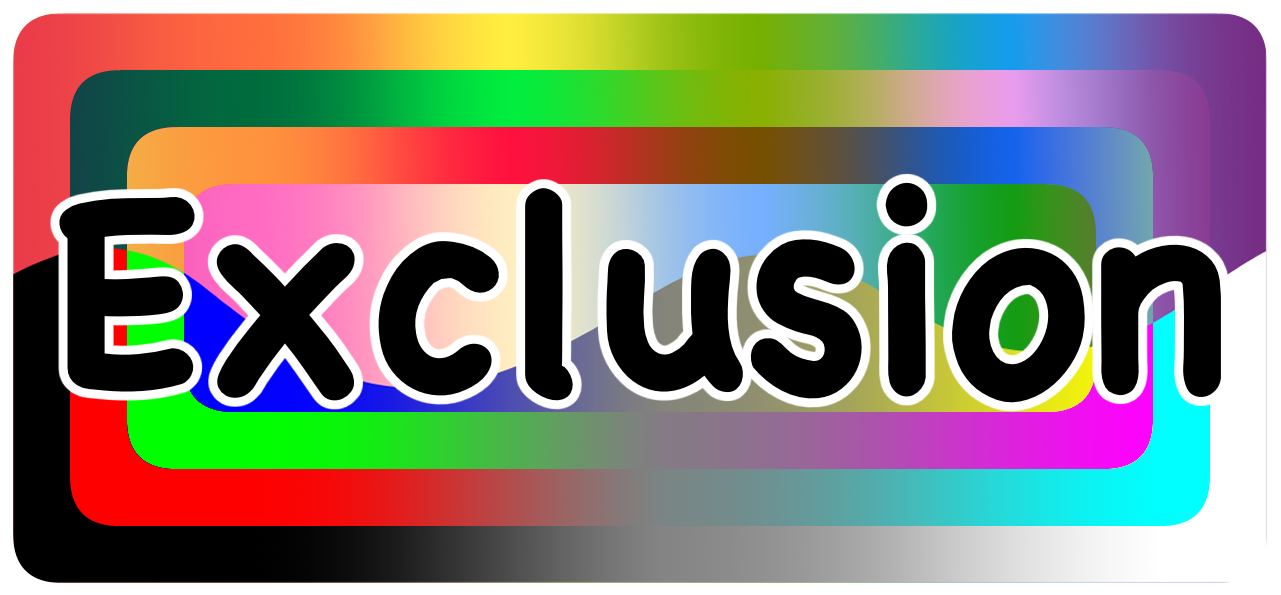
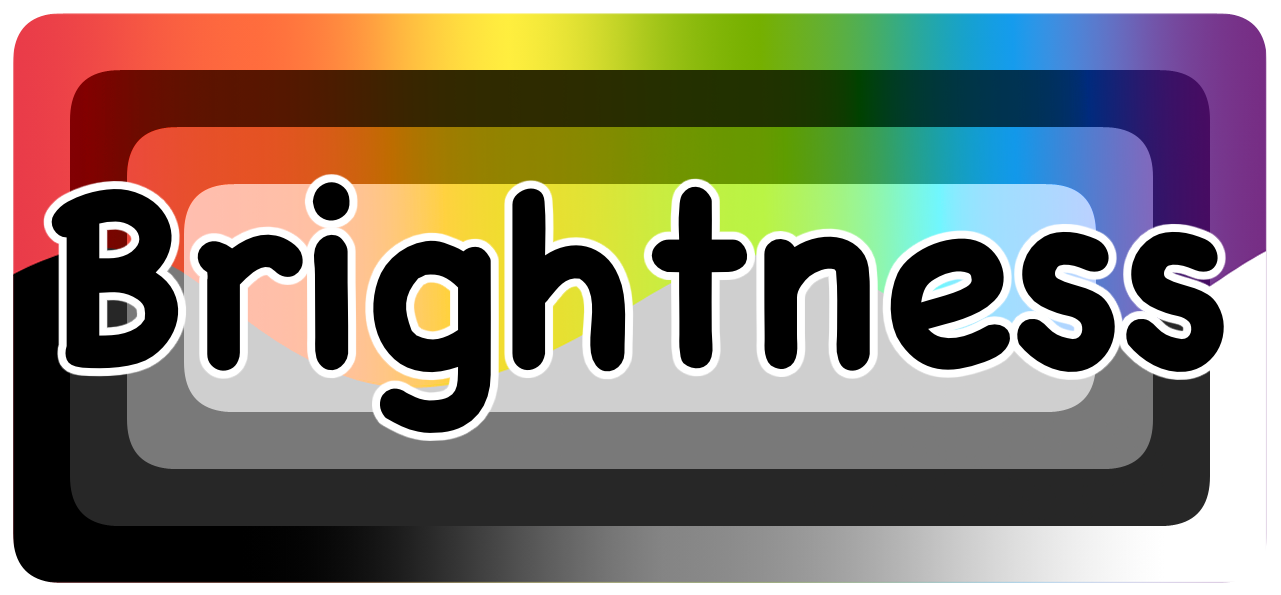
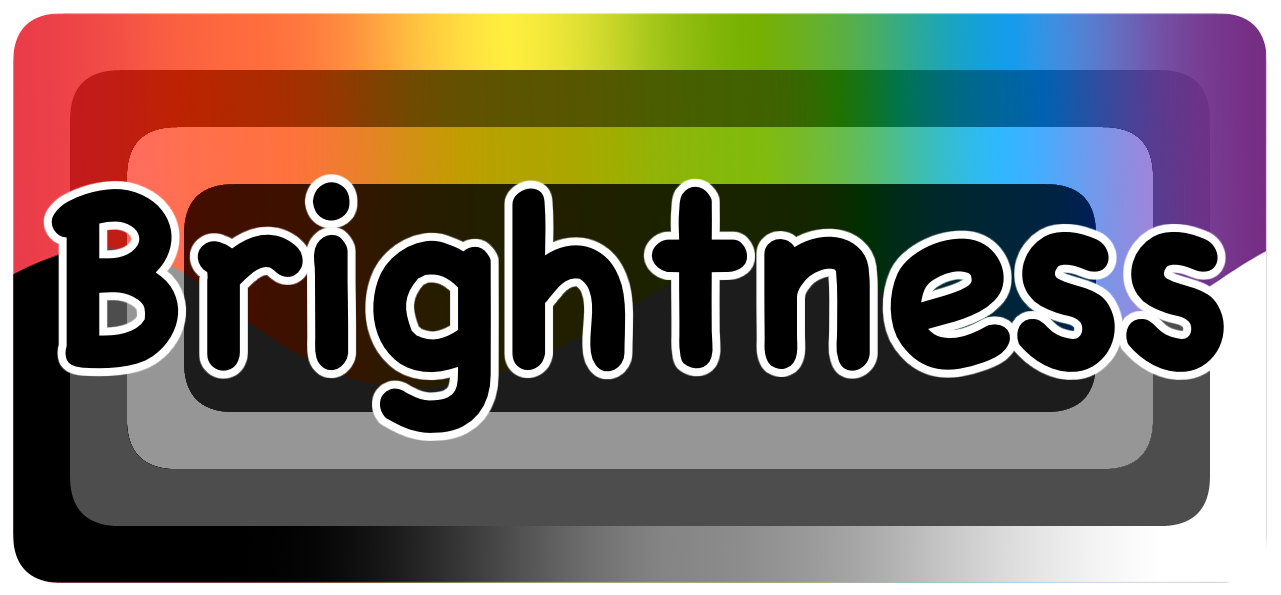
Now for the good stuff! Boop the blending mode you want to learn about below. Don’t feel like reading? Here’s a cheatsheet!
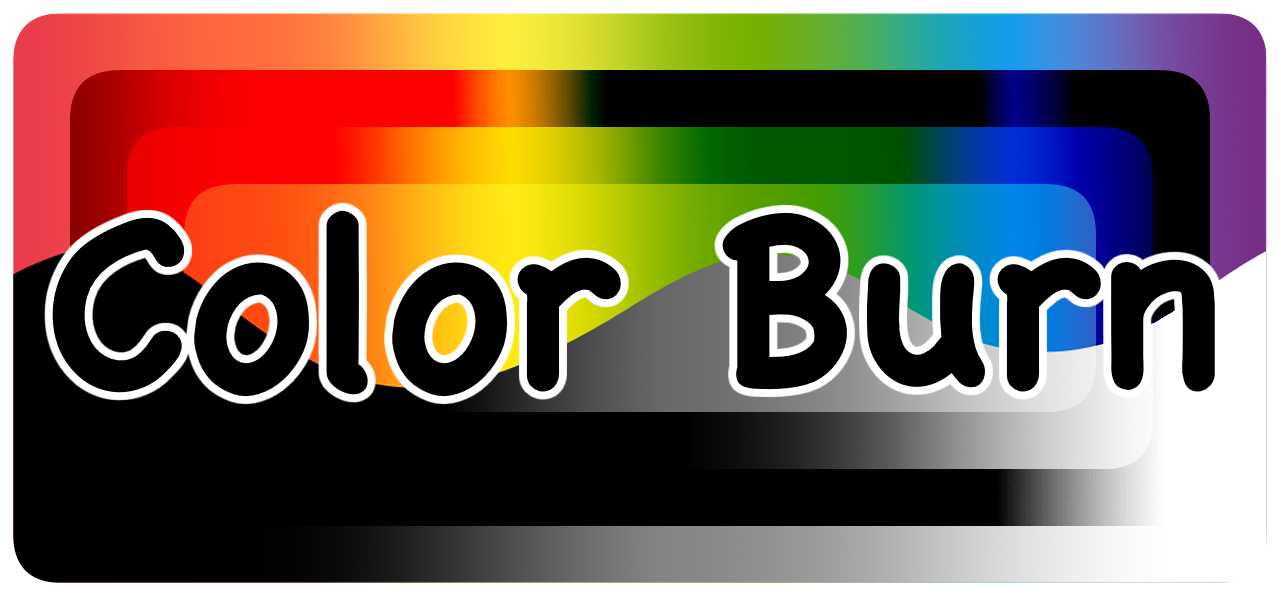
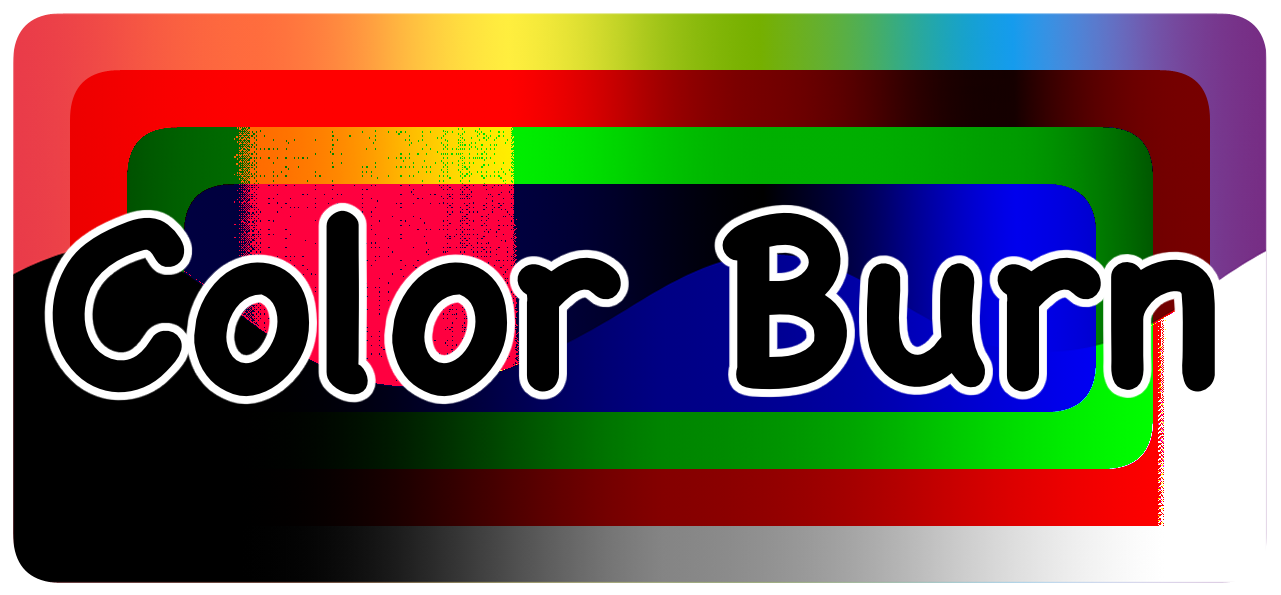
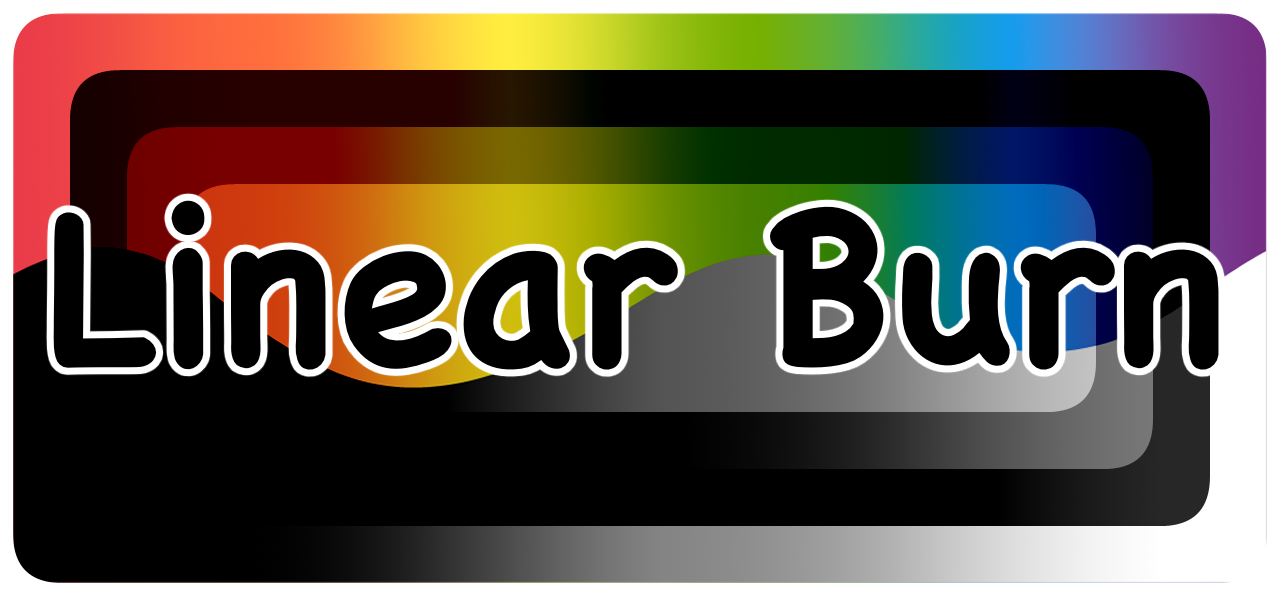
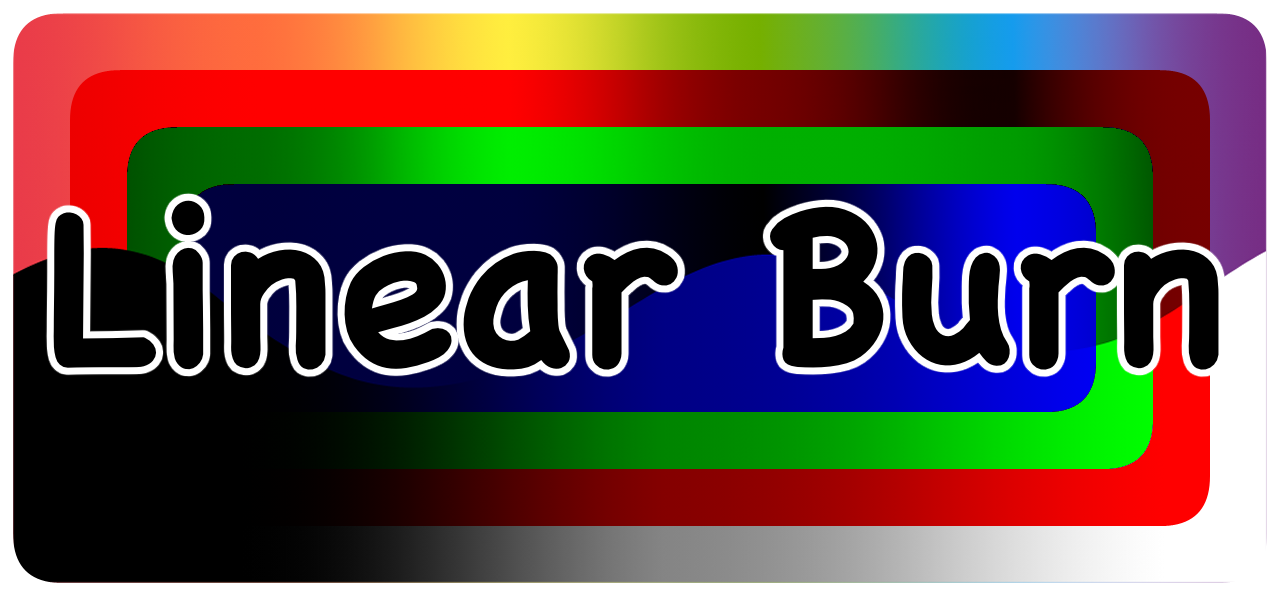
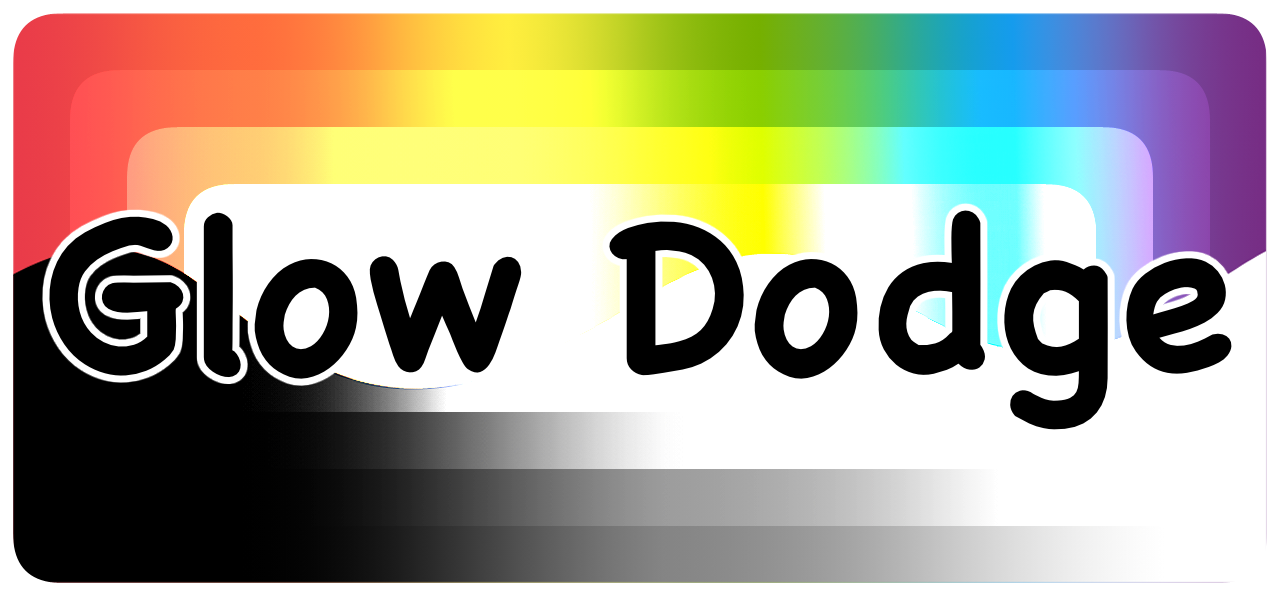
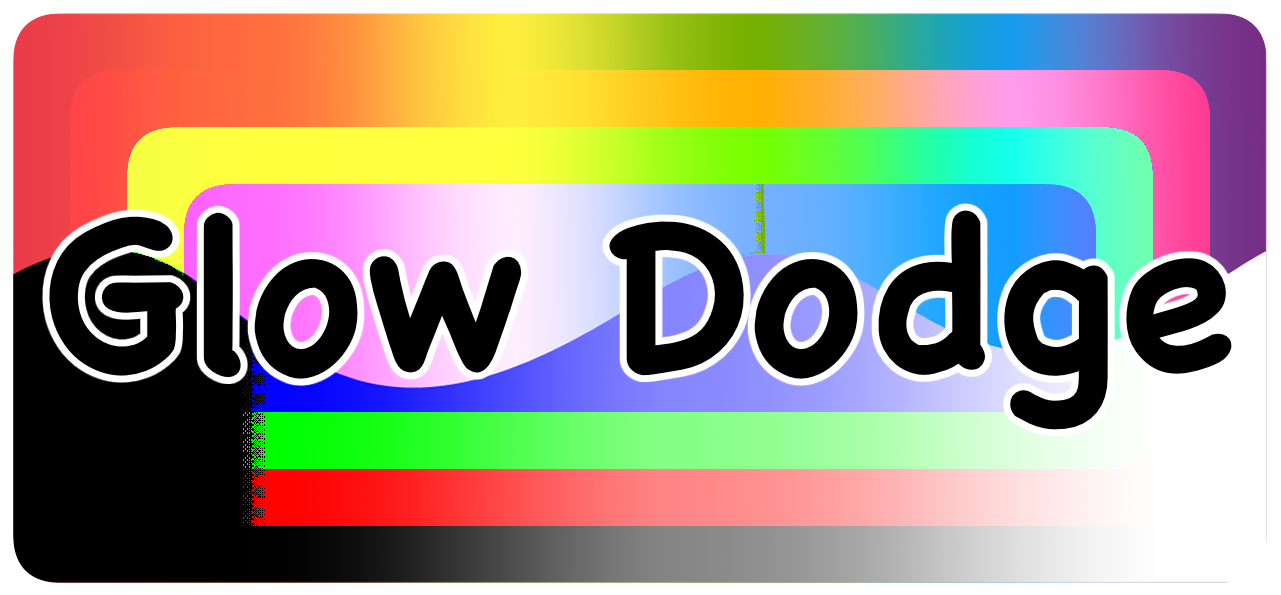
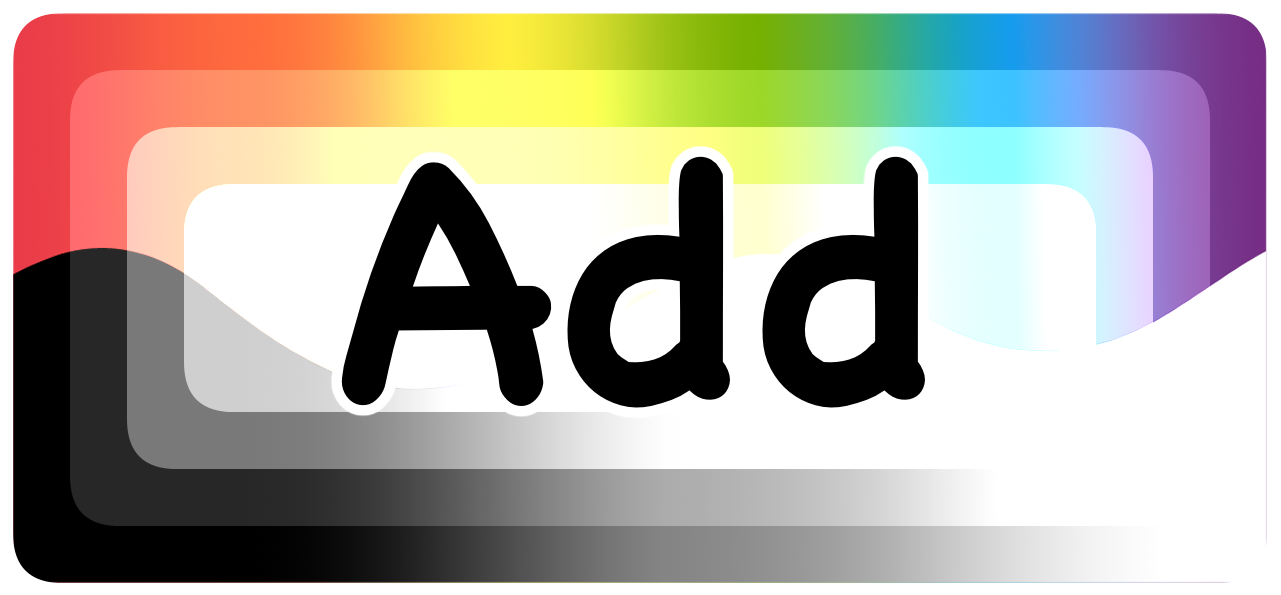
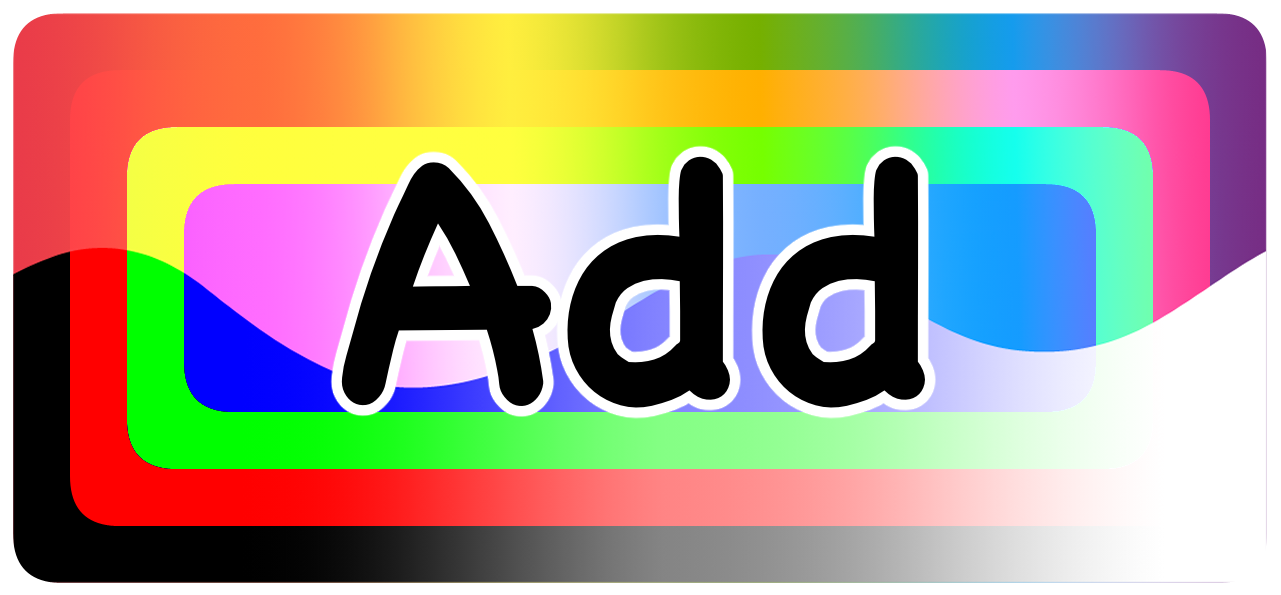
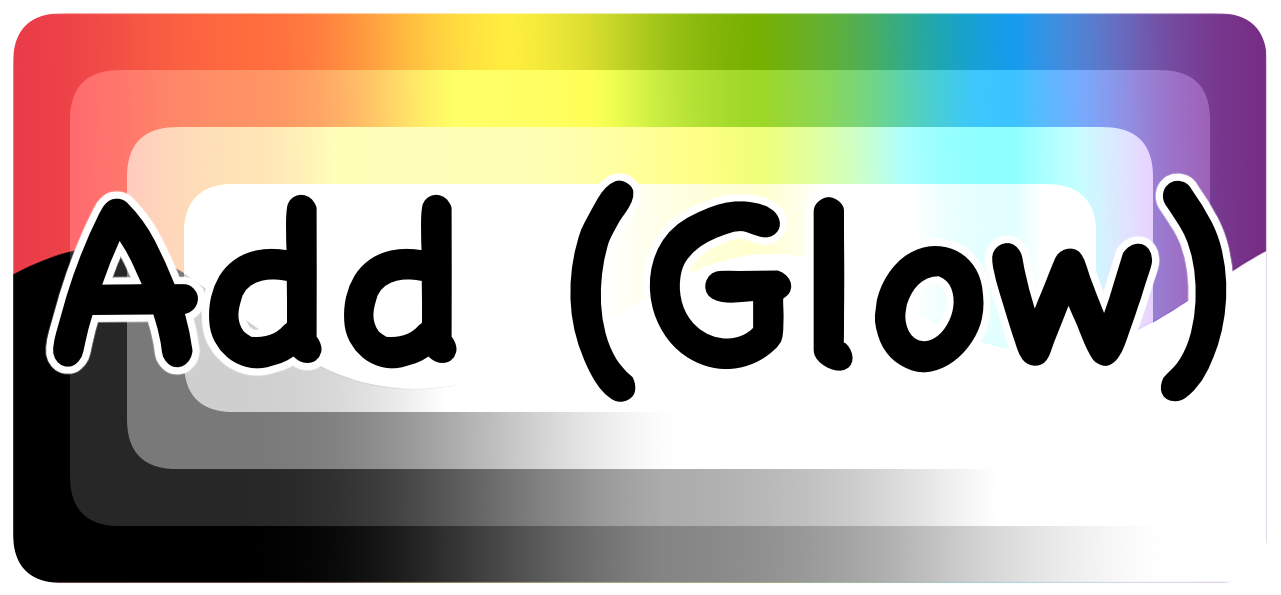
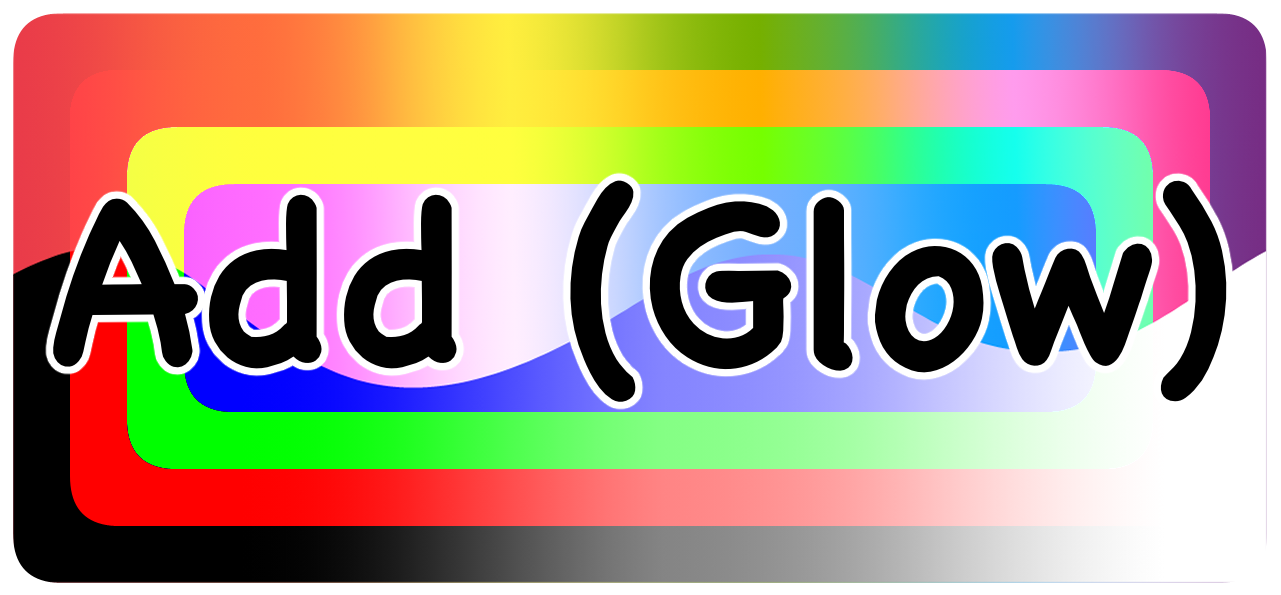
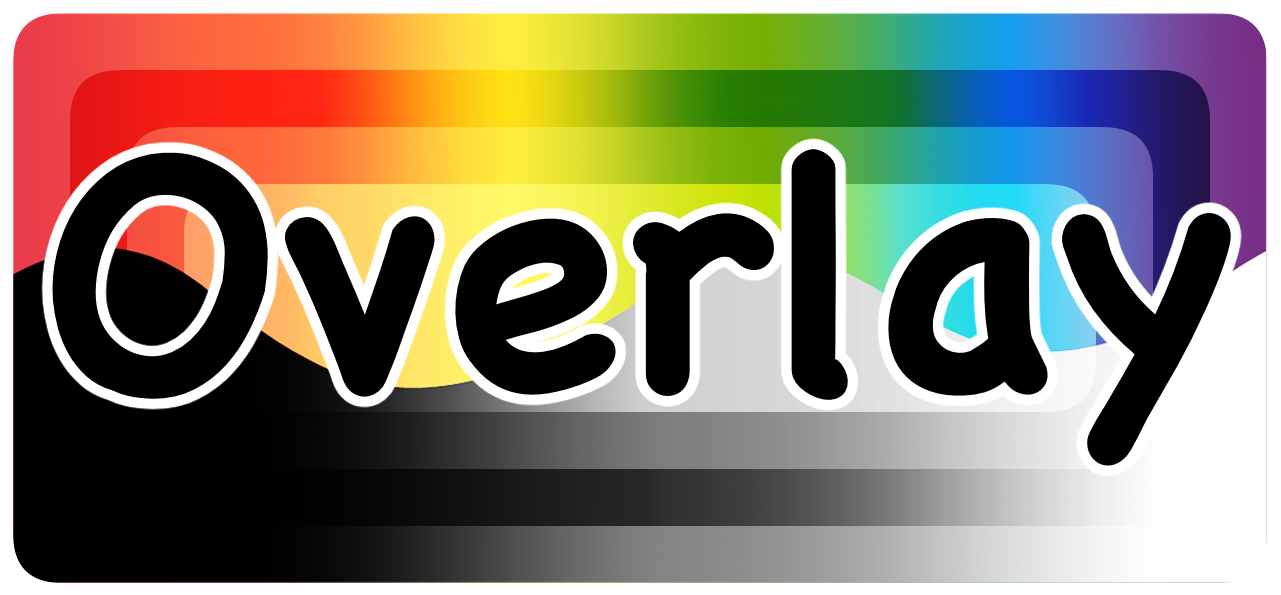
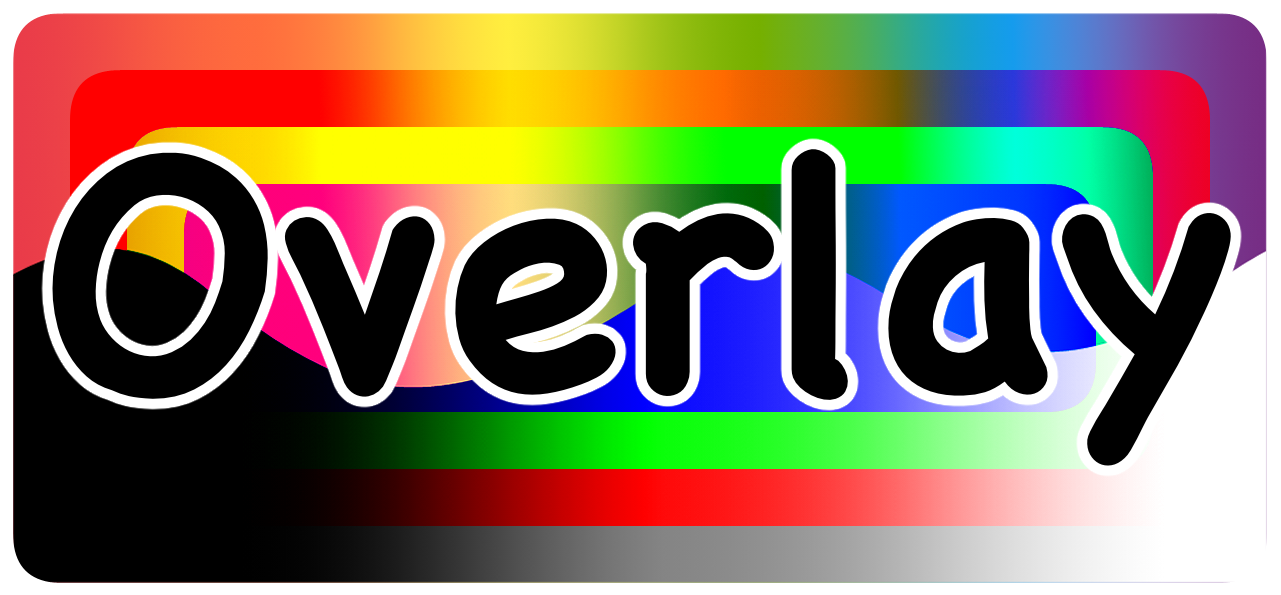
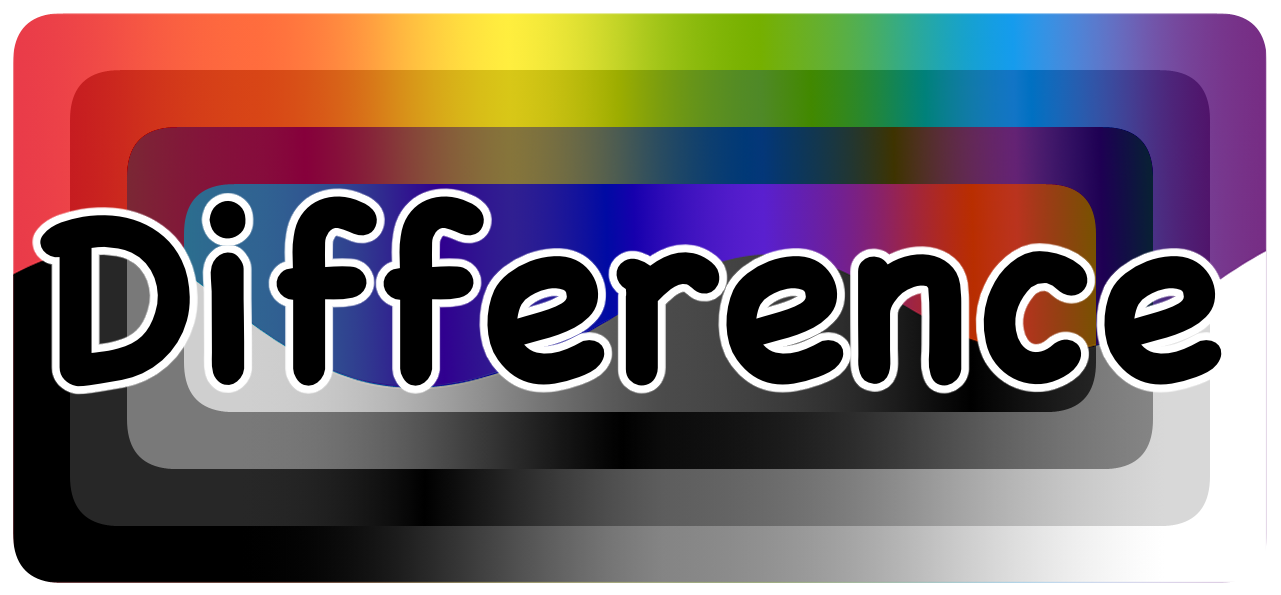
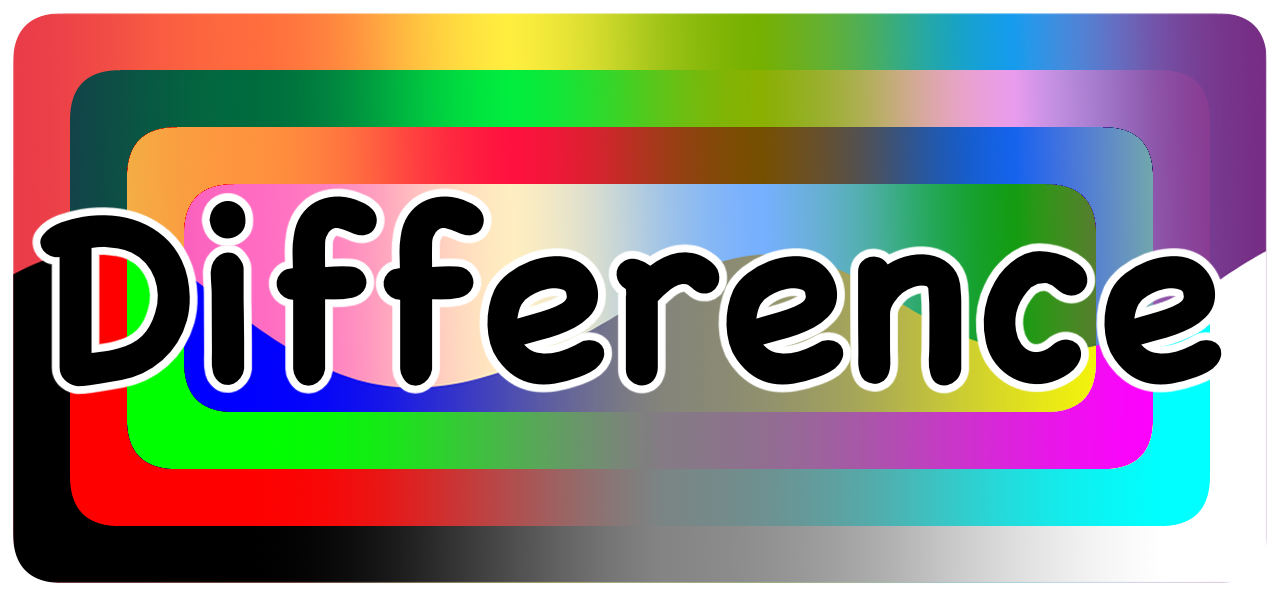
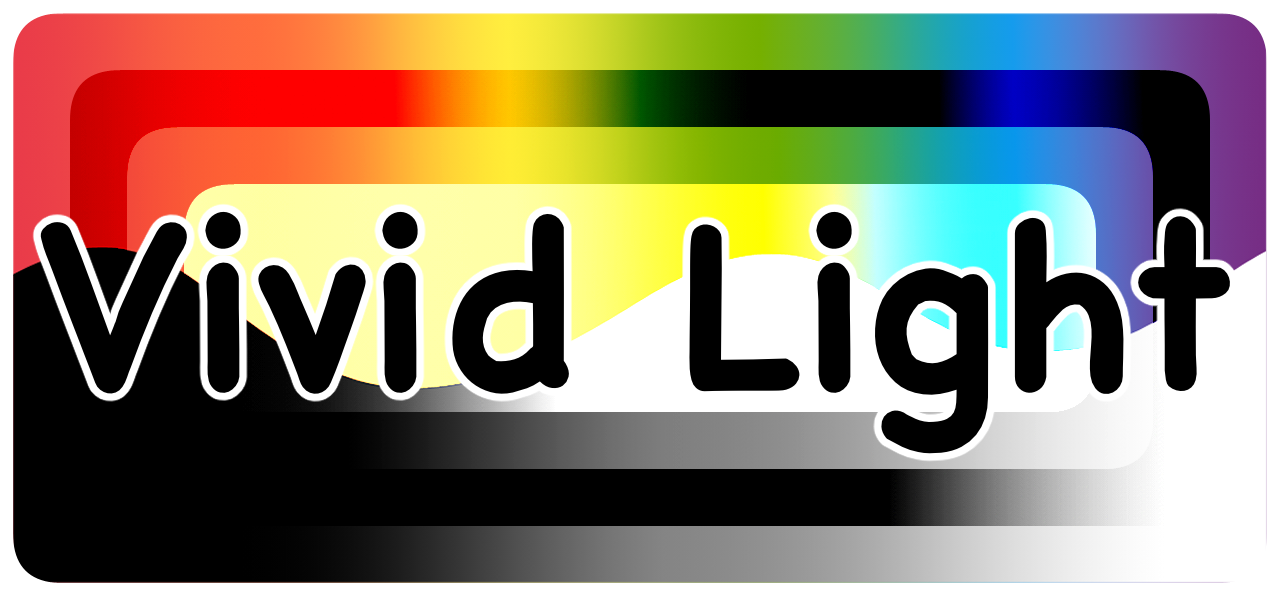
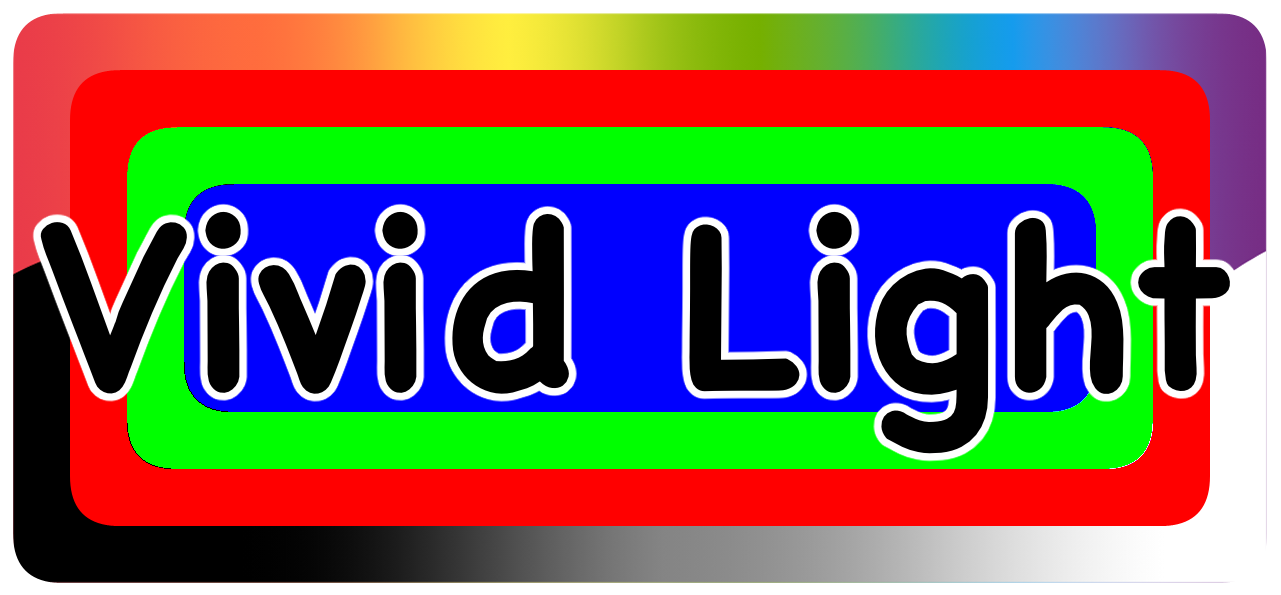
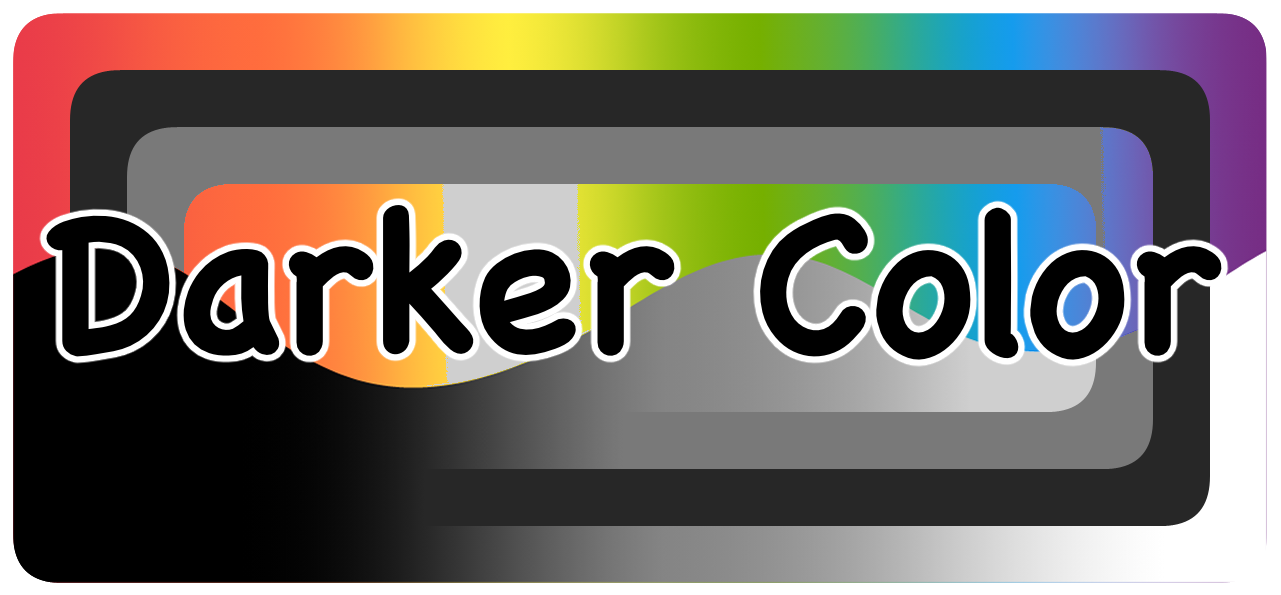
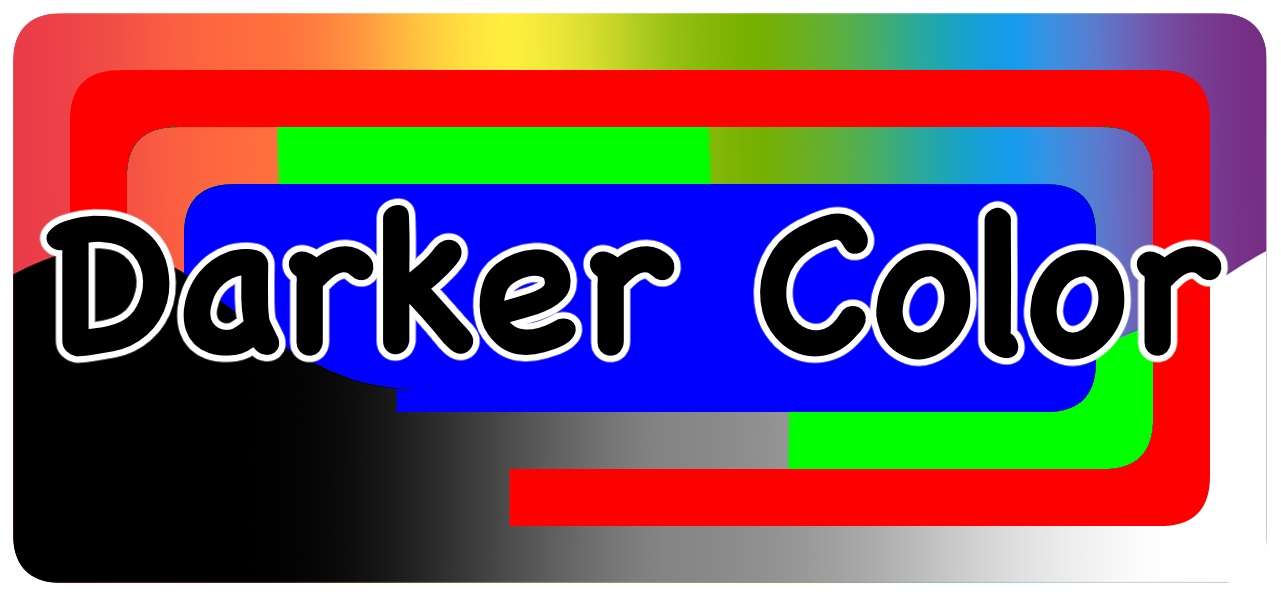
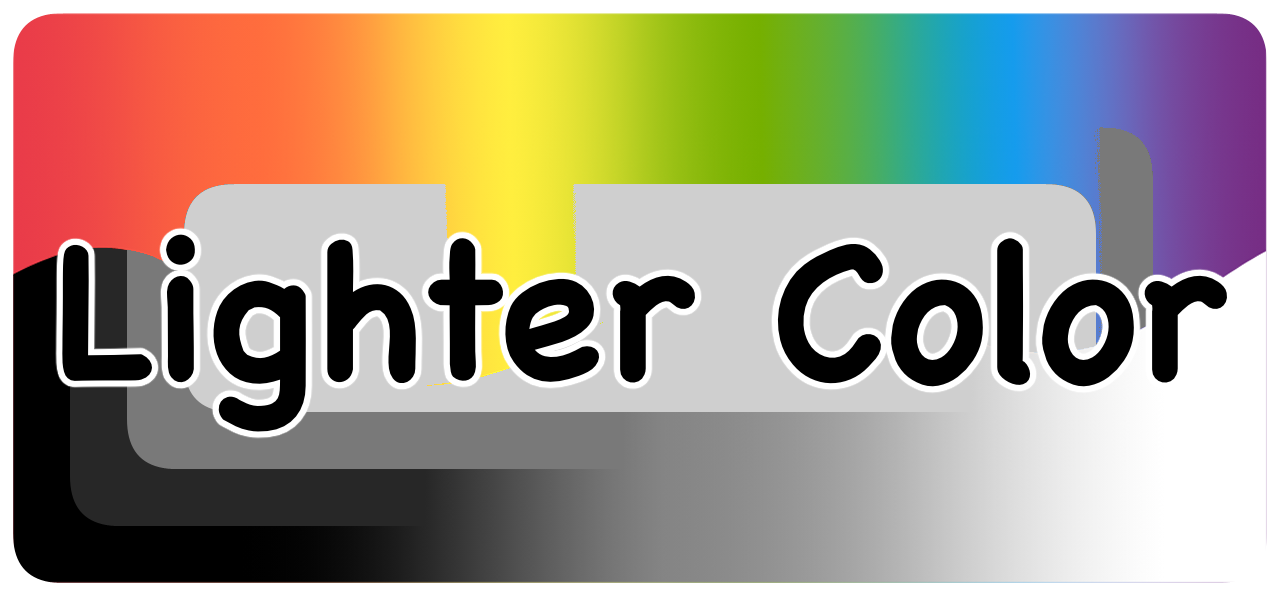
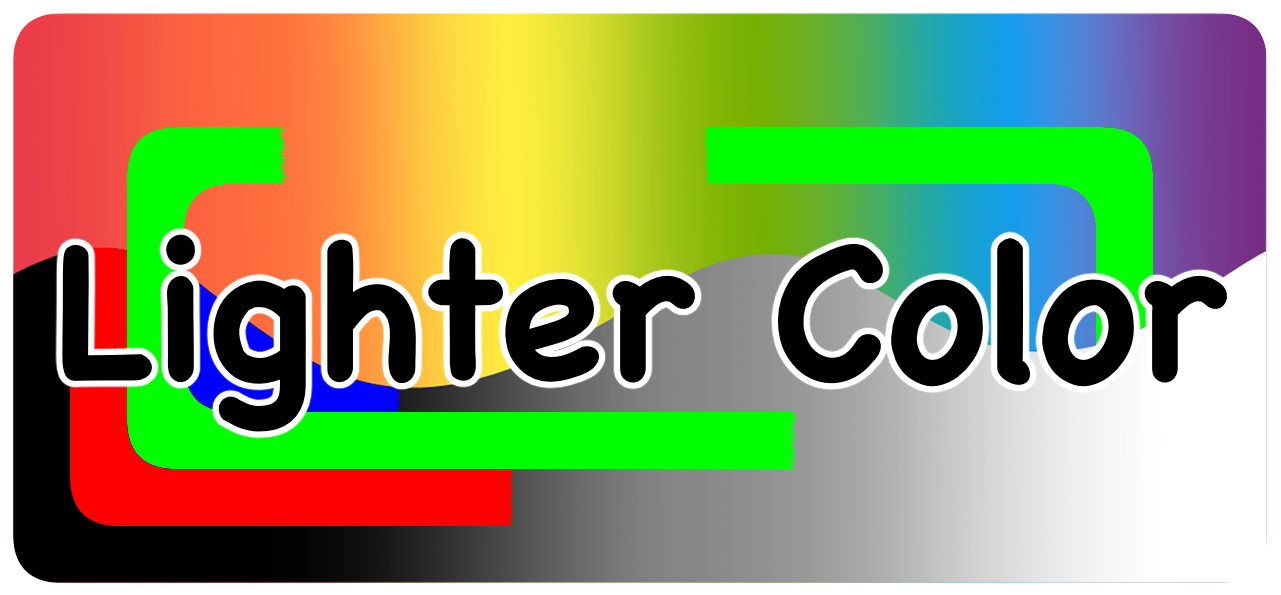
Thanks for reading! Check back soon for the super special Tool Blending Modes!