Darken compares the colors you are painting with to the layer underneath and keeps the darker color without blending them together. Use Darken when you want to paint quick shadow passes or drop down bright highlights while preserving dark line art.
Core Rules of Darken Mode
Let’s look at how Darken behaves on your canvas:
- White Has No Effect: Pure White (RGB 255, 255, 255) is the neutral color for Darken mode. If you paint with white or have white in a texture, it becomes completely transparent and lets the base layer show through 100%.
- Black Wins: Pure Black (RGB 0, 0, 0) is the lowest possible brightness value. It will completely replace whatever color is underneath it on the canvas.
- No Color Mixing (Darken vs. Multiply): Multiply multiplies color values together, making your shadows deeply saturated but sometimes muddy. Darken does not mix colors at all; it strictly looks at the values and picks the darkest one.
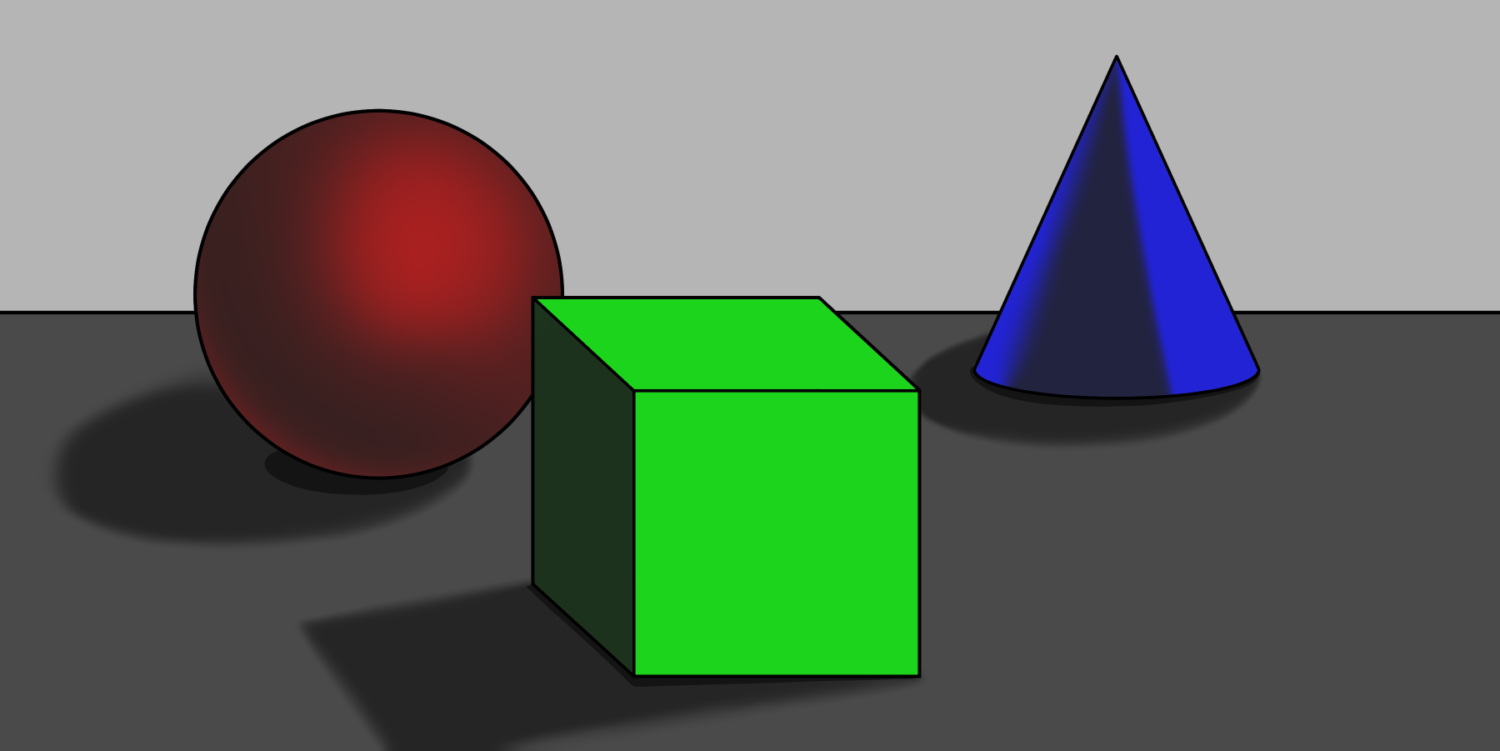 Darken
 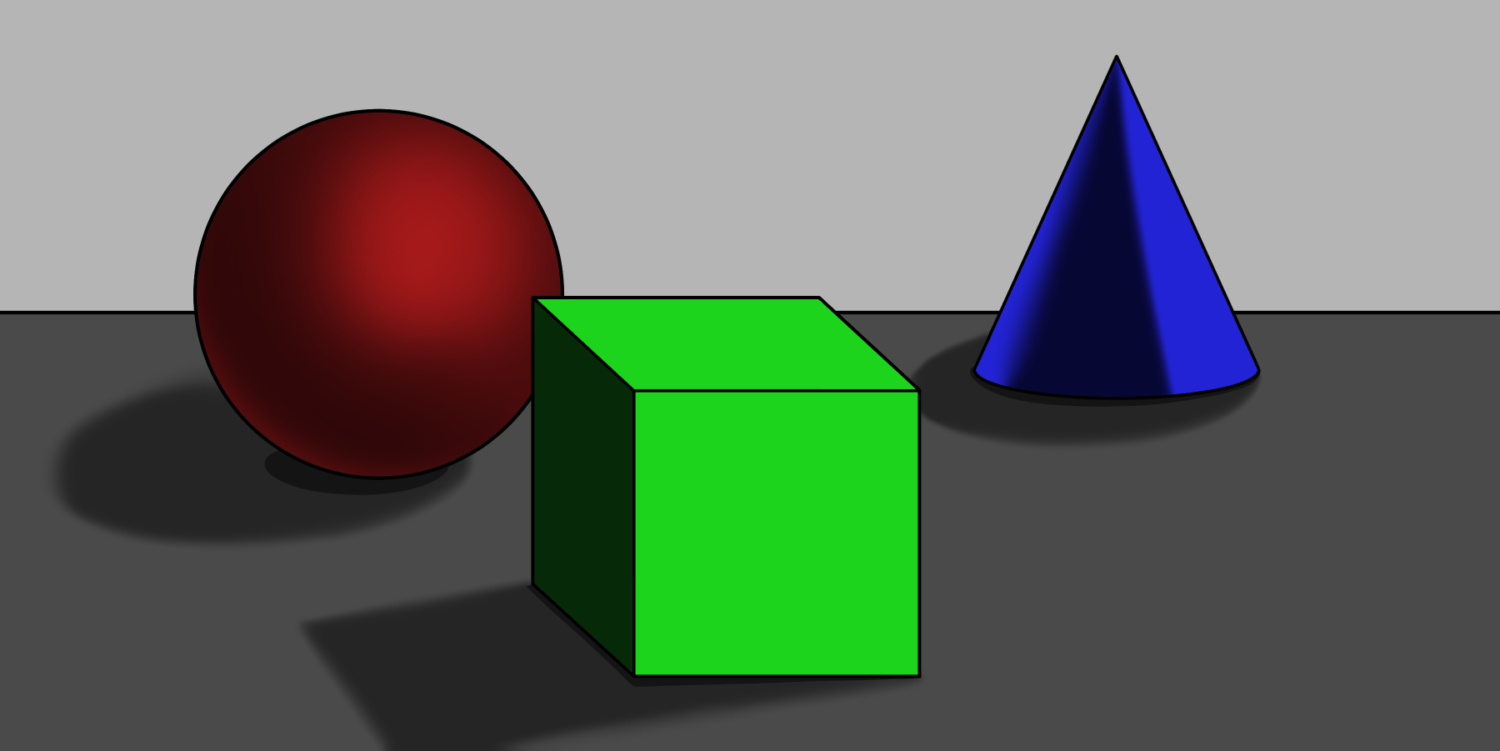 Multiply
 When to Use It
1. Line Art Protection & Shading Light Values Only
When you paint on a Darken layer, anything darker than your active brush is protected. This makes it perfect for adding quick shadow passes without muddying up the clean lines around your drawings.
- How to see it: On a new layer set to Darken, paint a medium gray shadow stroke right across your lined shapes.
- The result: The gray stroke will cleanly cover the bright, highlighted sides of the shapes, but it will instantly disappear the moment it crosses your dark outlines or deep core shadows. It lets you paint fast without bleeding into your inks.
- Use the slider below to see how a broad shadow stroke shades the light surfaces of the shapes but leaves the dark outline and shadows untouched.
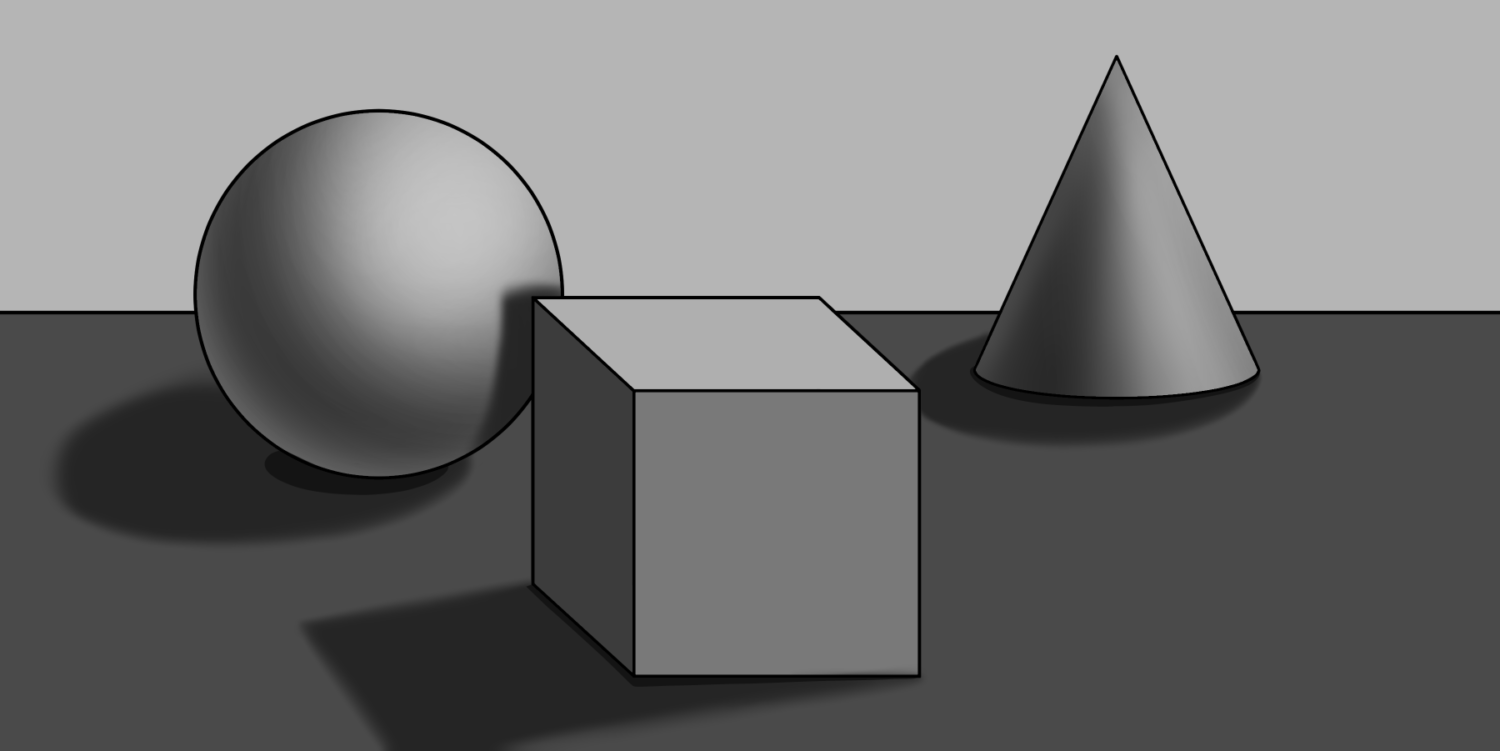 Normal Shaded
 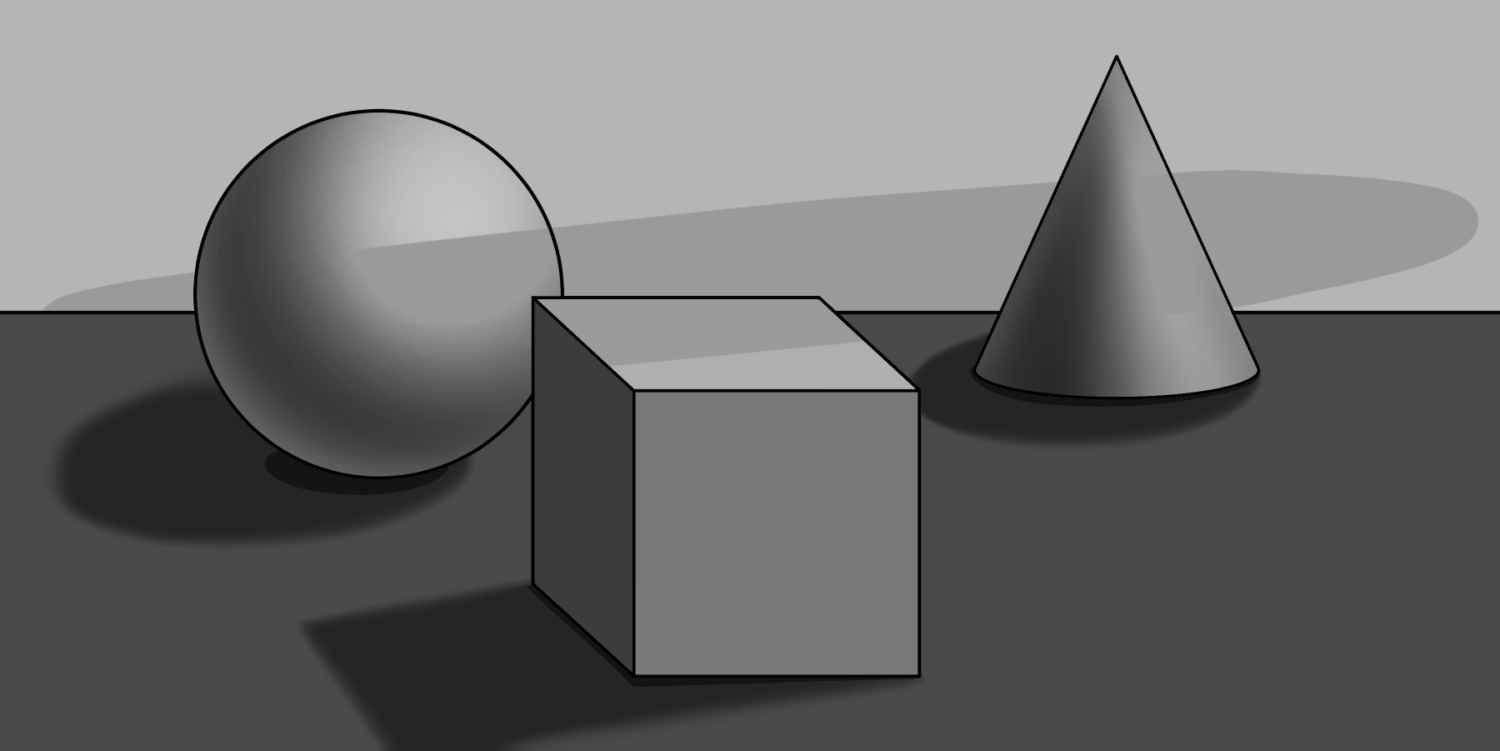 Darken Stroke
 2. Quick Color Swaps & Recoloring Highlights
Sometimes you finish shading a piece, only to realize a highlighted area is way too bright, or you want to tweak the color of a specific spot without repainting your smooth gradients from scratch.
- How it works: Set a new layer to Darken, pick your target color, and paint over the area you want to tone down.
- The result: The new color will instantly stamp itself over the bright highlights, but it will stop and fade away the moment it hits any part of the shape that is already darker than your brush color. It gives you a perfect flat patch over highlights while keeping your core shadows completely intact.
- Move the slider below to see how a solid color brush quickly knocks down the bright highlights on the circle and cone without touching the shaded areas. Blue toned down the highlight on the cone. Yellow changed the highlight color on the cube. Magenta reduced and added color to the red sphere’s highlight.
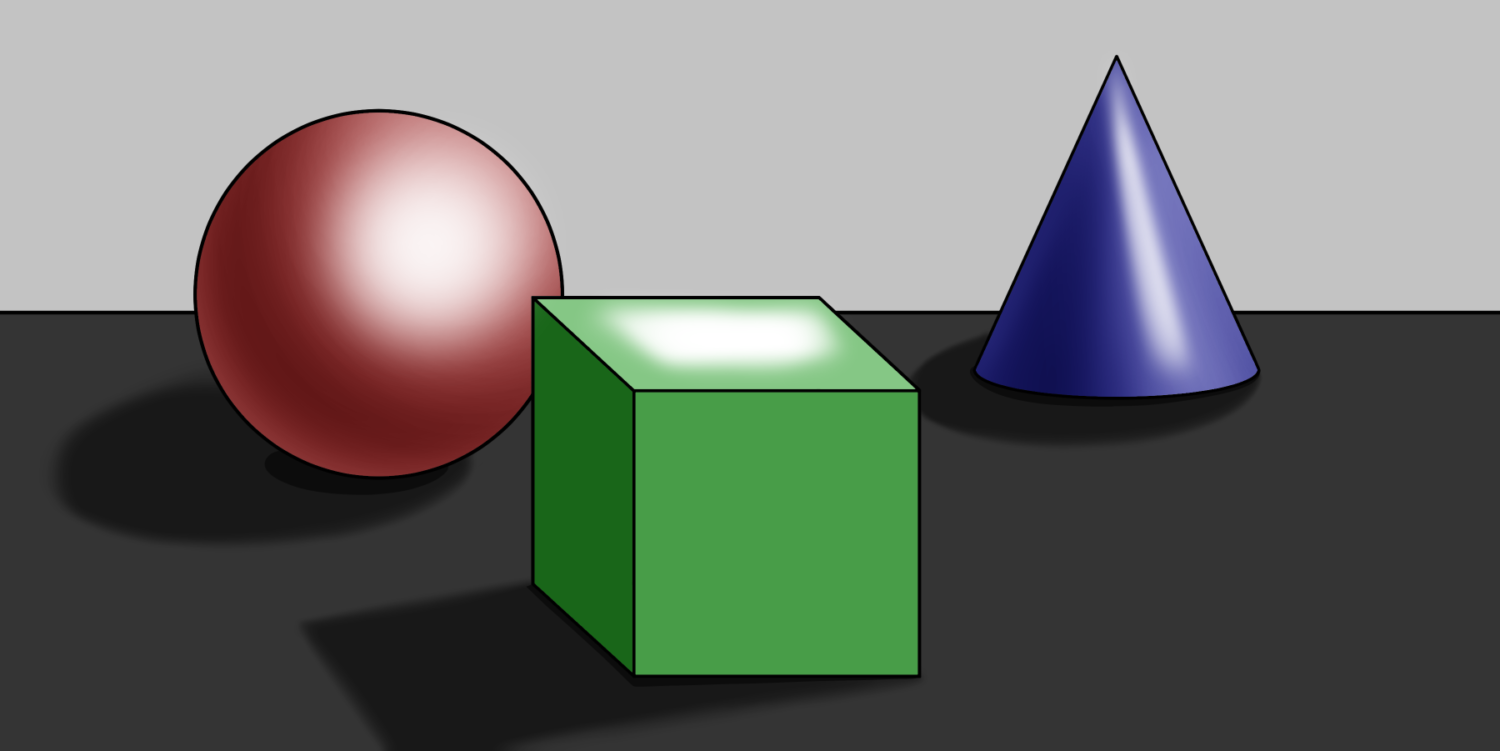 Too Bright
 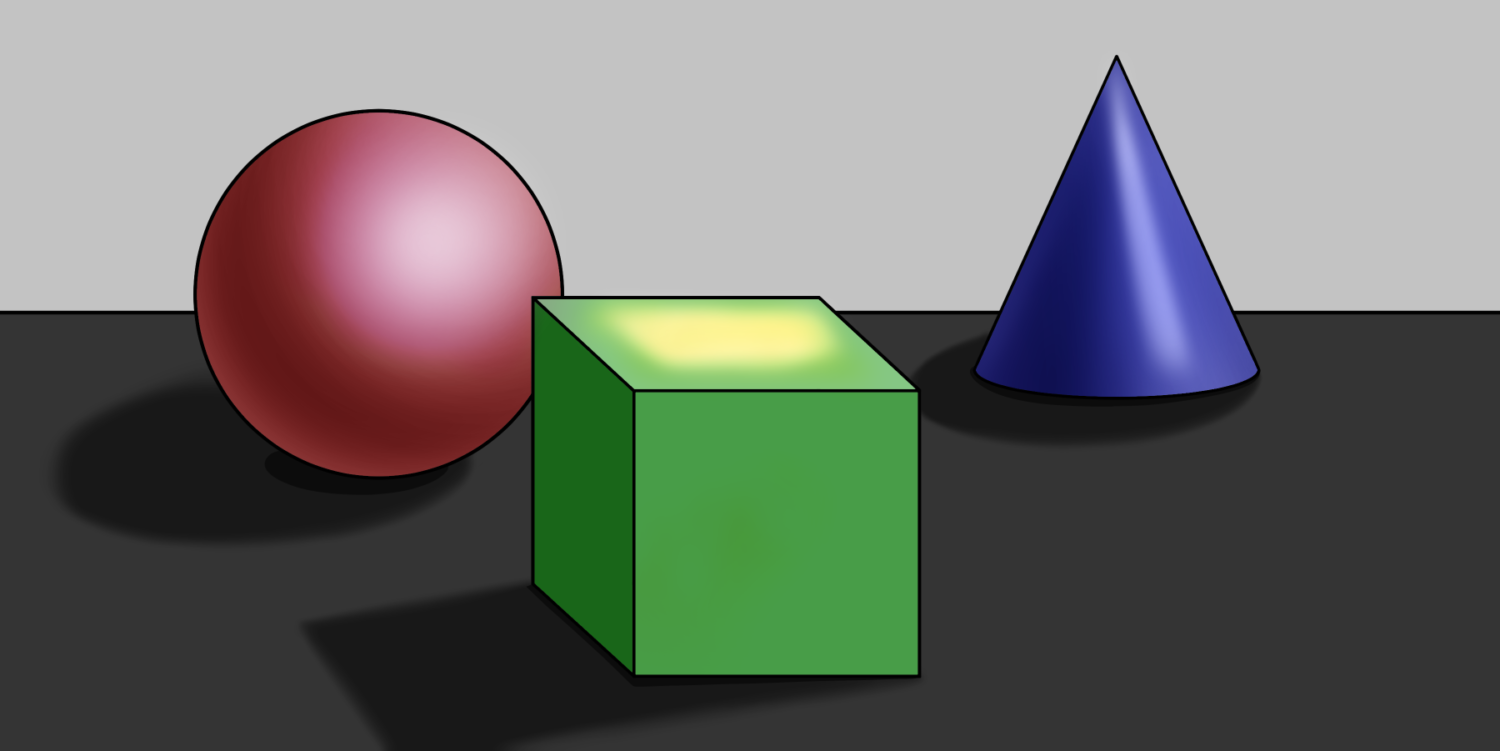 Darkened
 The Math
The colors of the Darken layer are compared pixel by pixel to the color of the base layer for each RGB channel. The lower number is selected, and since lower numbers mean darker colors, the result can only get darker (or stay the same) in this blending mode.
Mathier Math
RGB colors are represented by three numbers: one for red, one for green, and one for blue. Each channel is compared separately using the minimum function:
Result = min(Top Layer, Base Layer)
So if the top layer has an RGB value of (80, 200, 150) and the base layer is (120, 160, 180), Darken compares each channel:
- Red: min(80, 120) = 80
- Green: min(200, 160) = 160
- Blue: min(150, 180) = 150
The resulting color is (80, 160, 150).
When you use Darken, there are three tiny math problems happening for every pixel!